
How To Download Your Presets
Instructions:
-
1. Download the Lightroom App and the Unzip App

-
2. Click on email link "Bliss+Lane Presets"
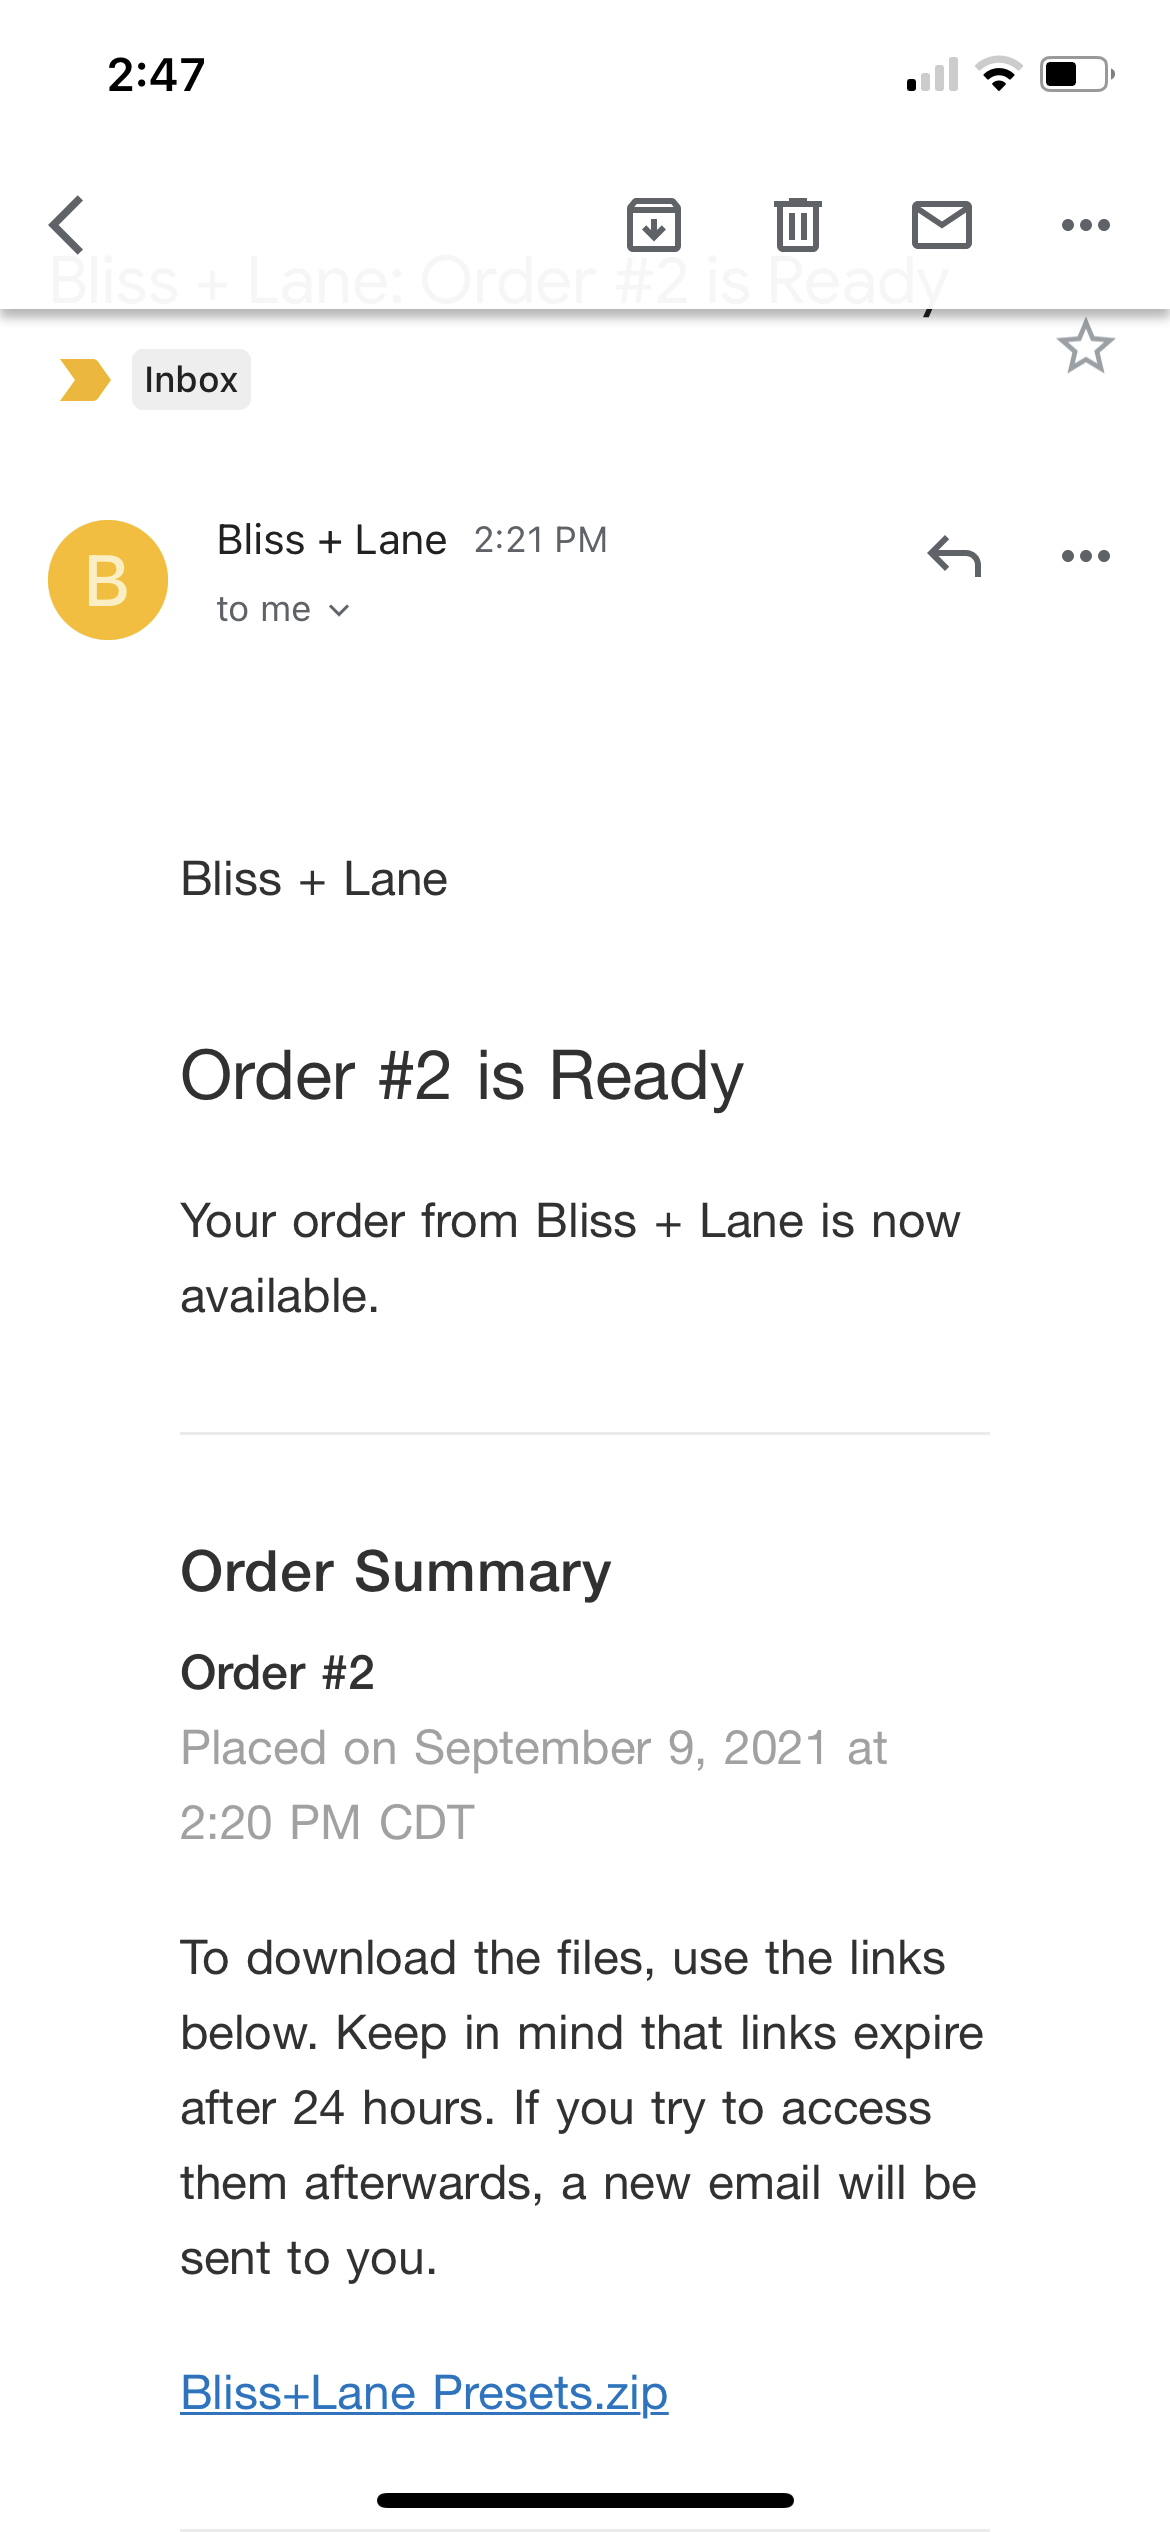
-
3. Click Open in "Unzip"
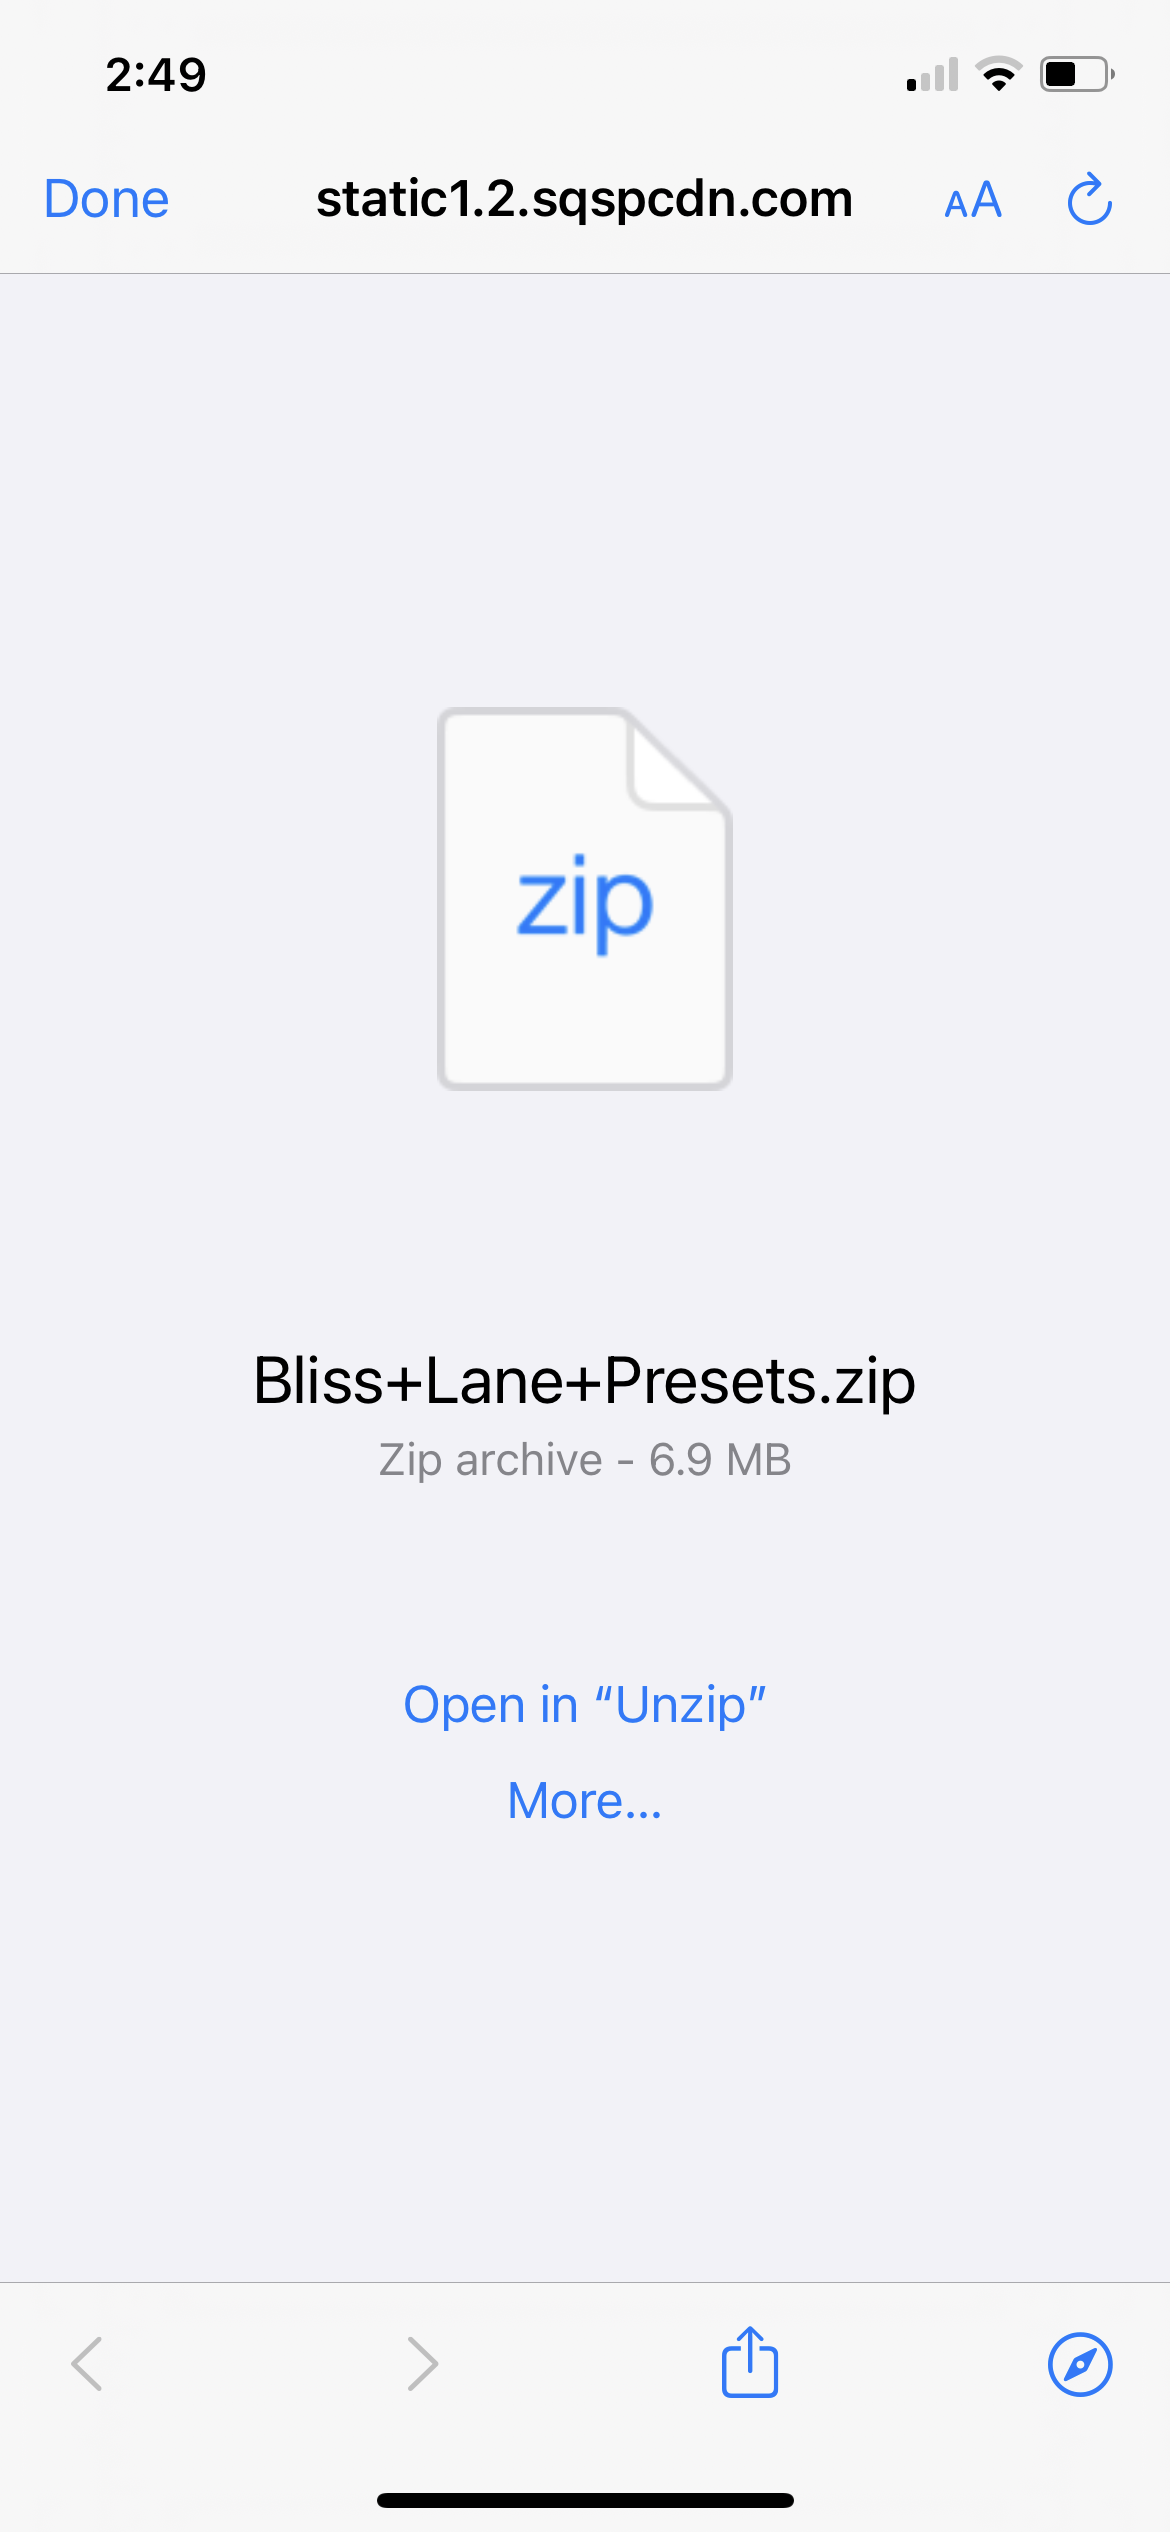
-
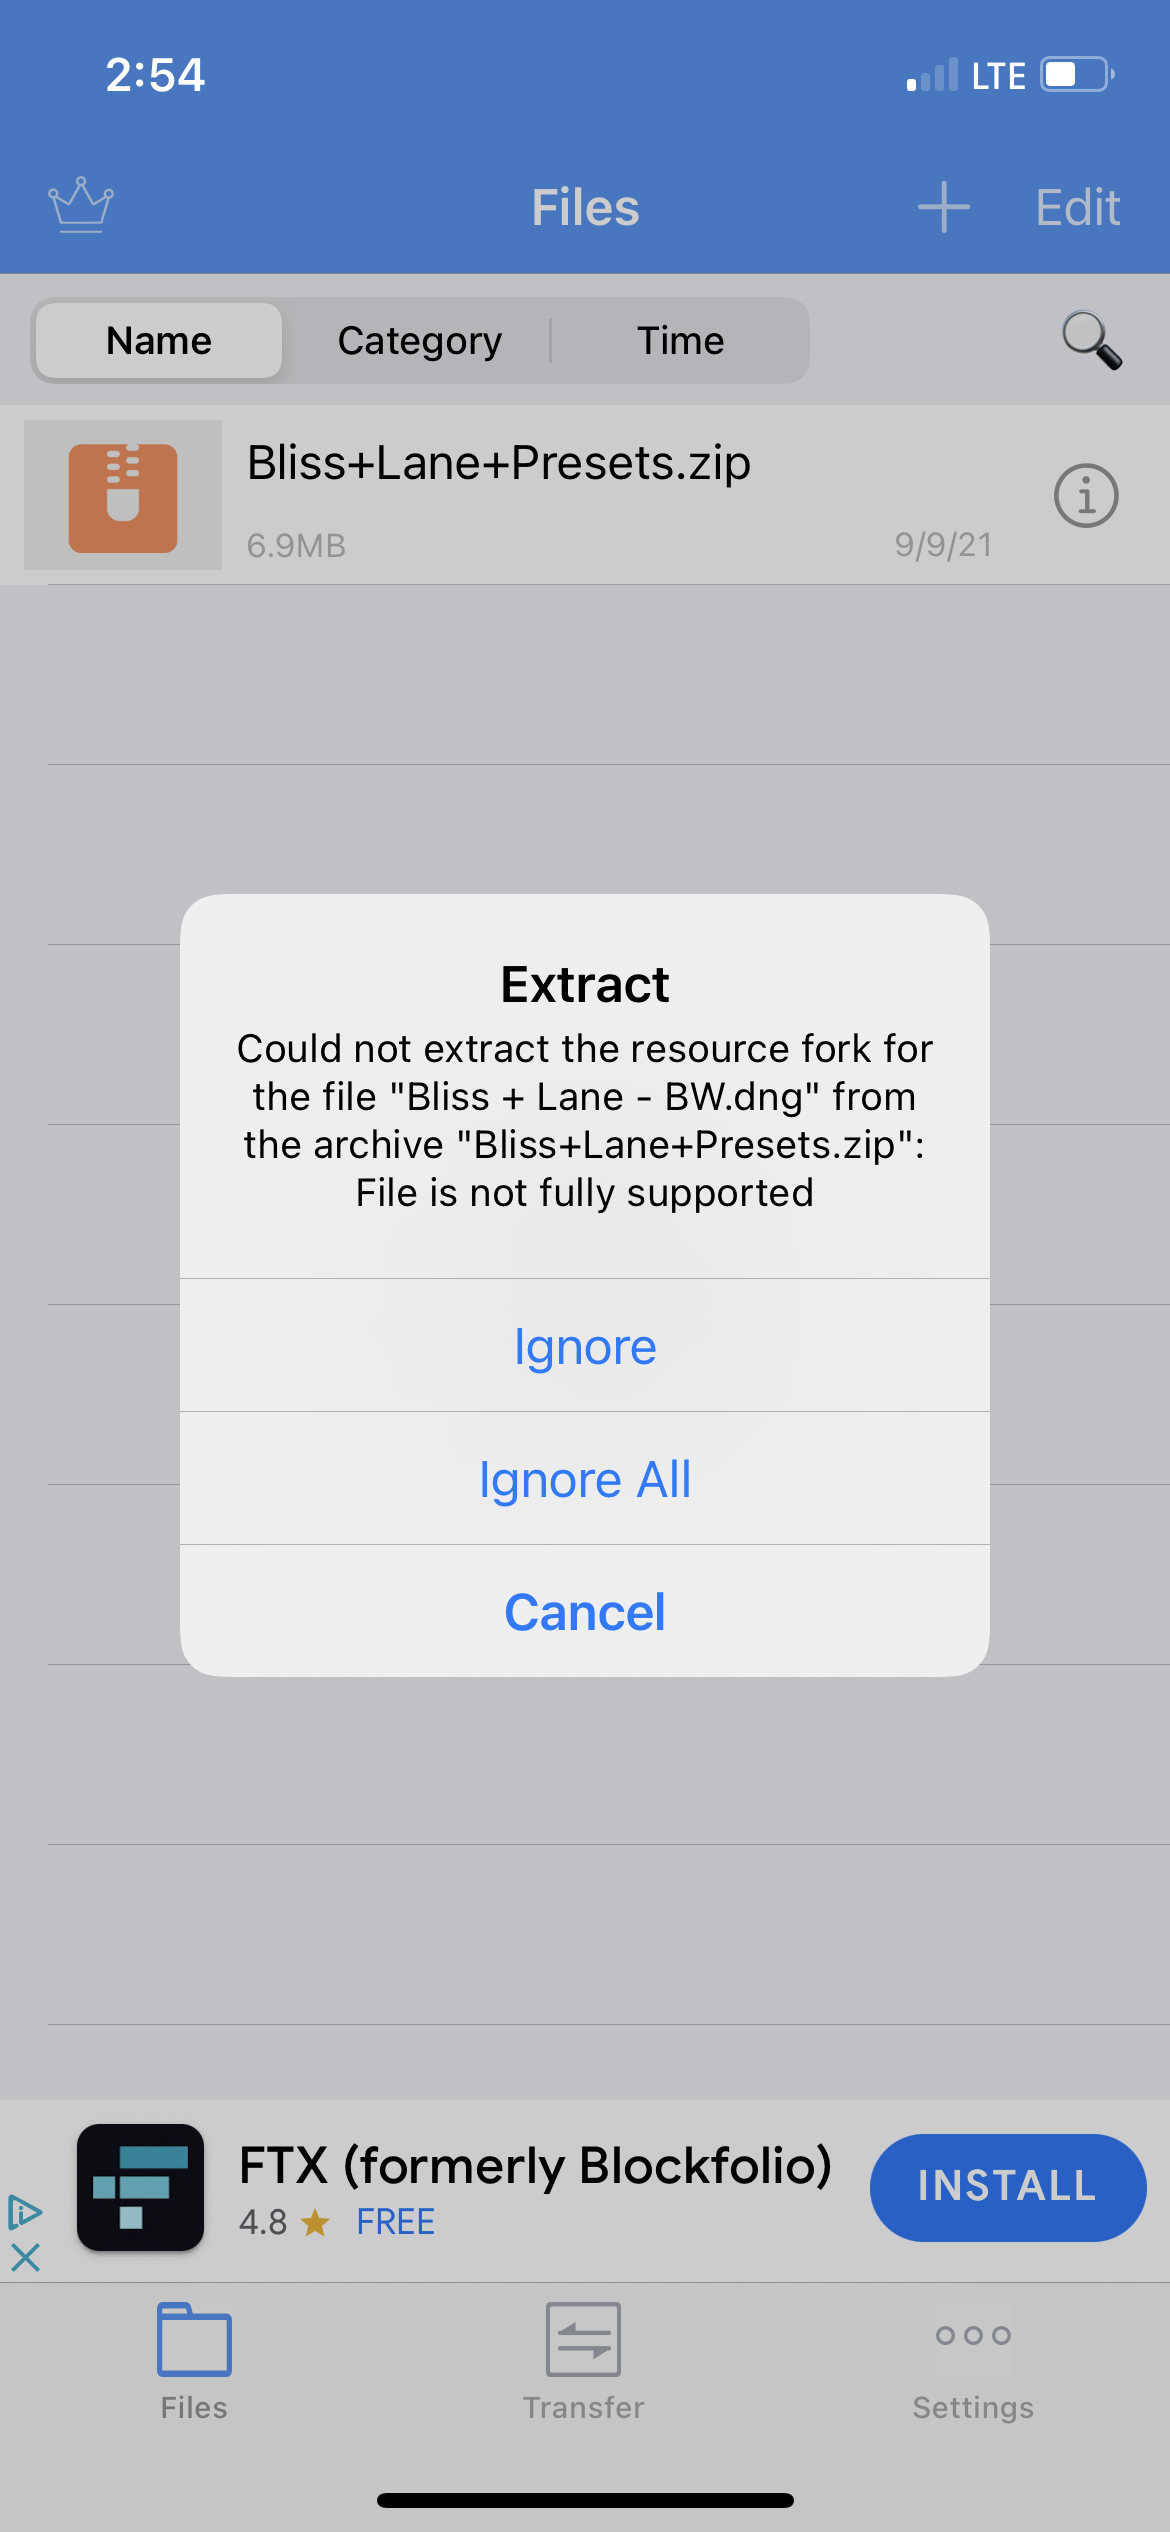
4. Click on the orange Bliss+Lane+Presets.zip
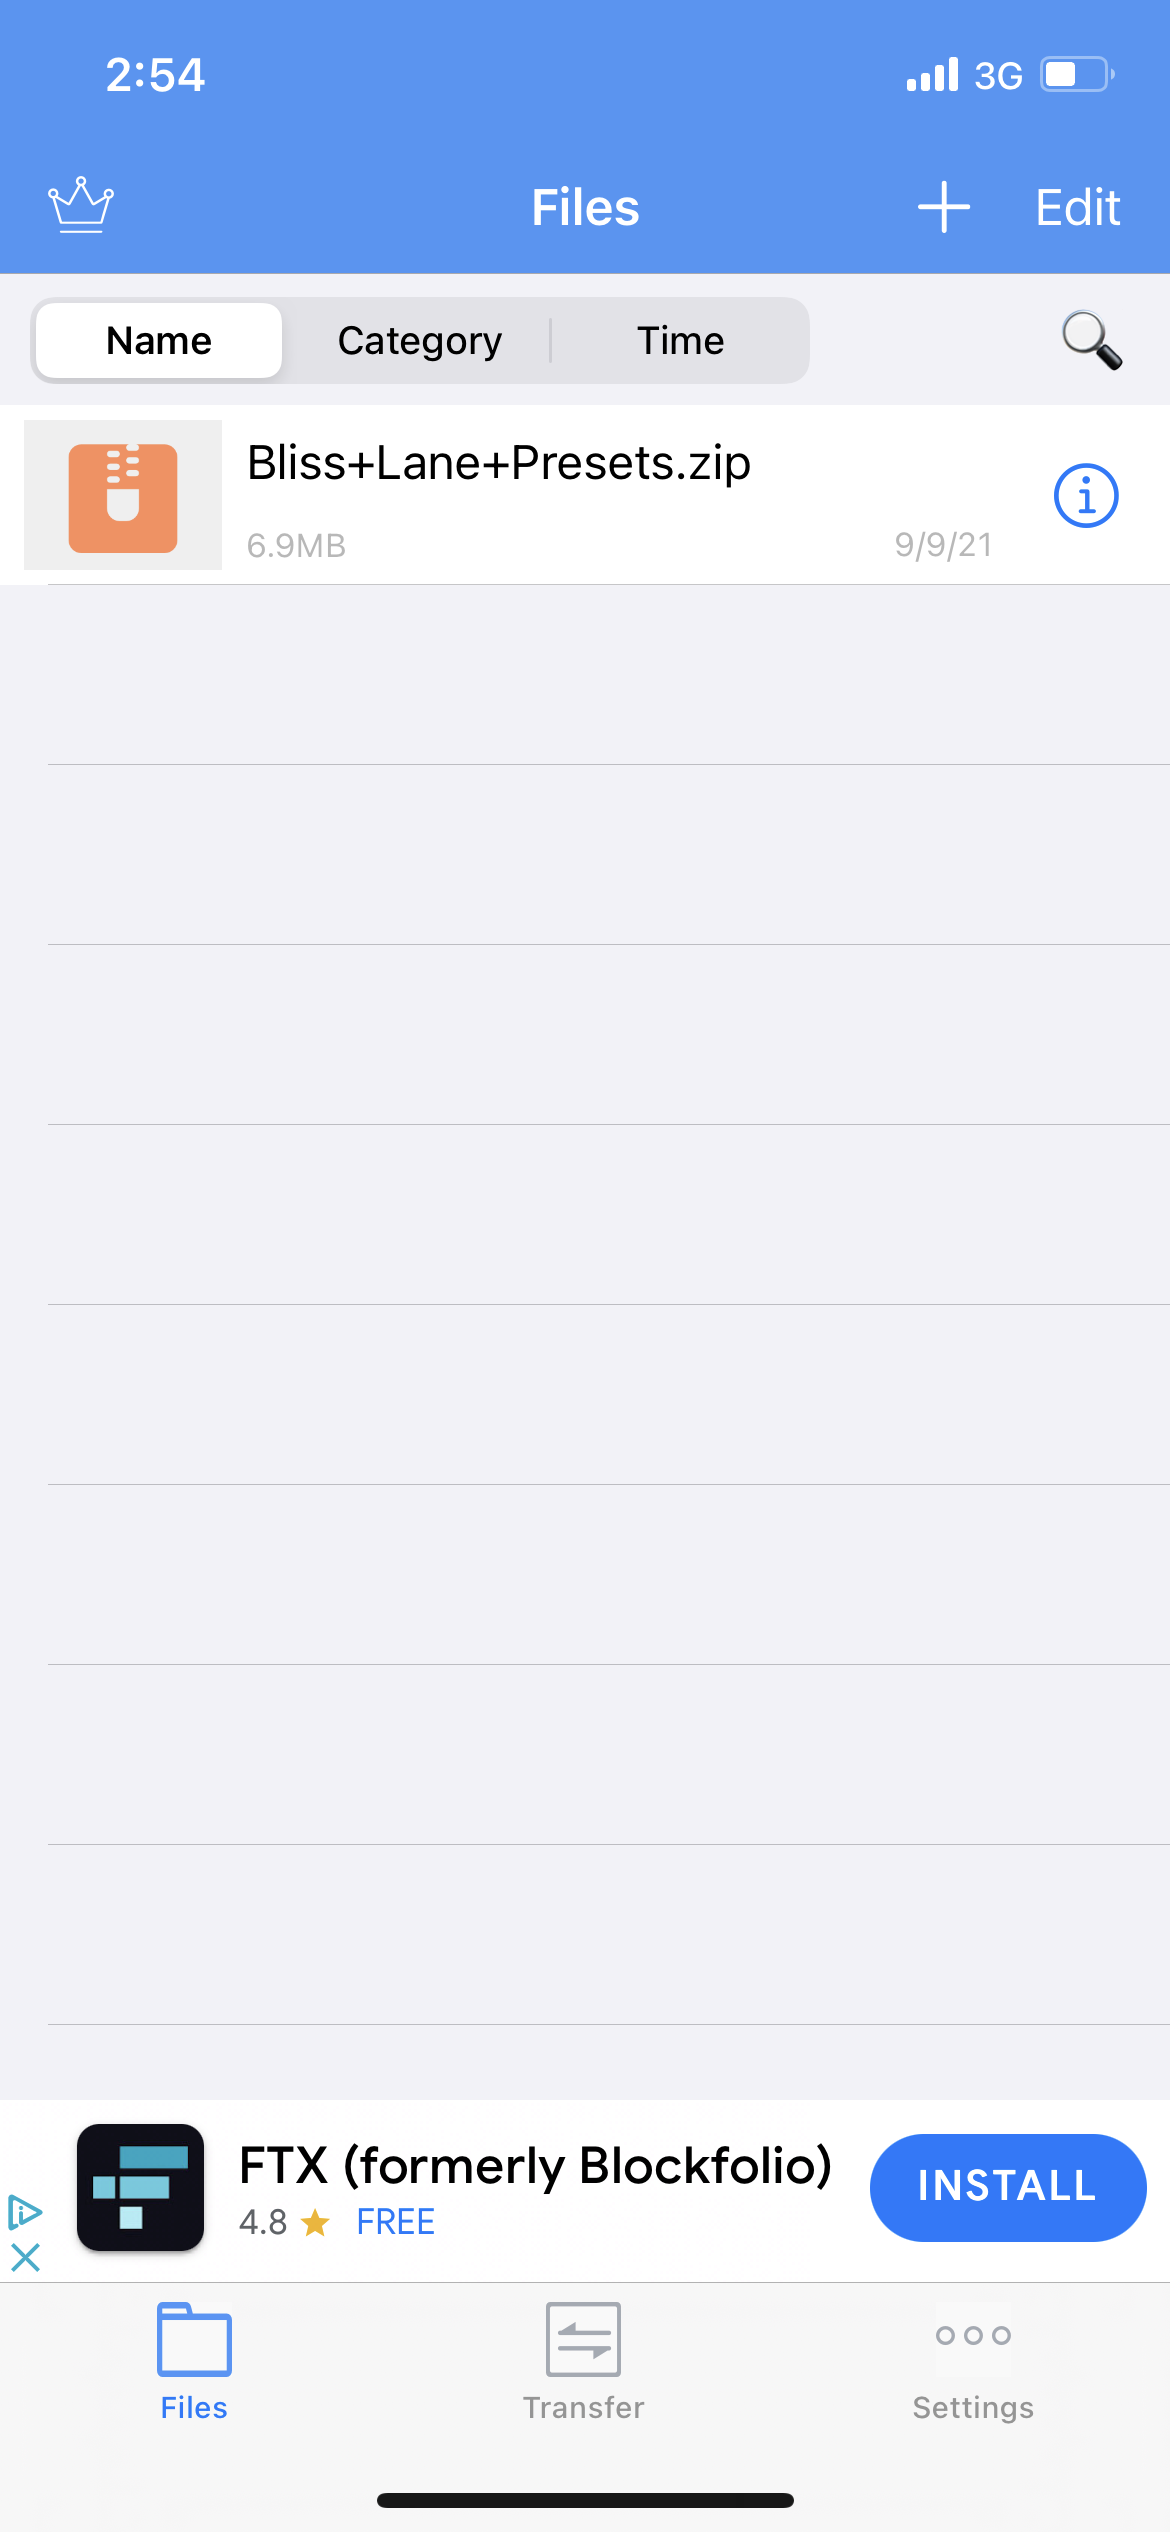
-
5. Ignore All
-
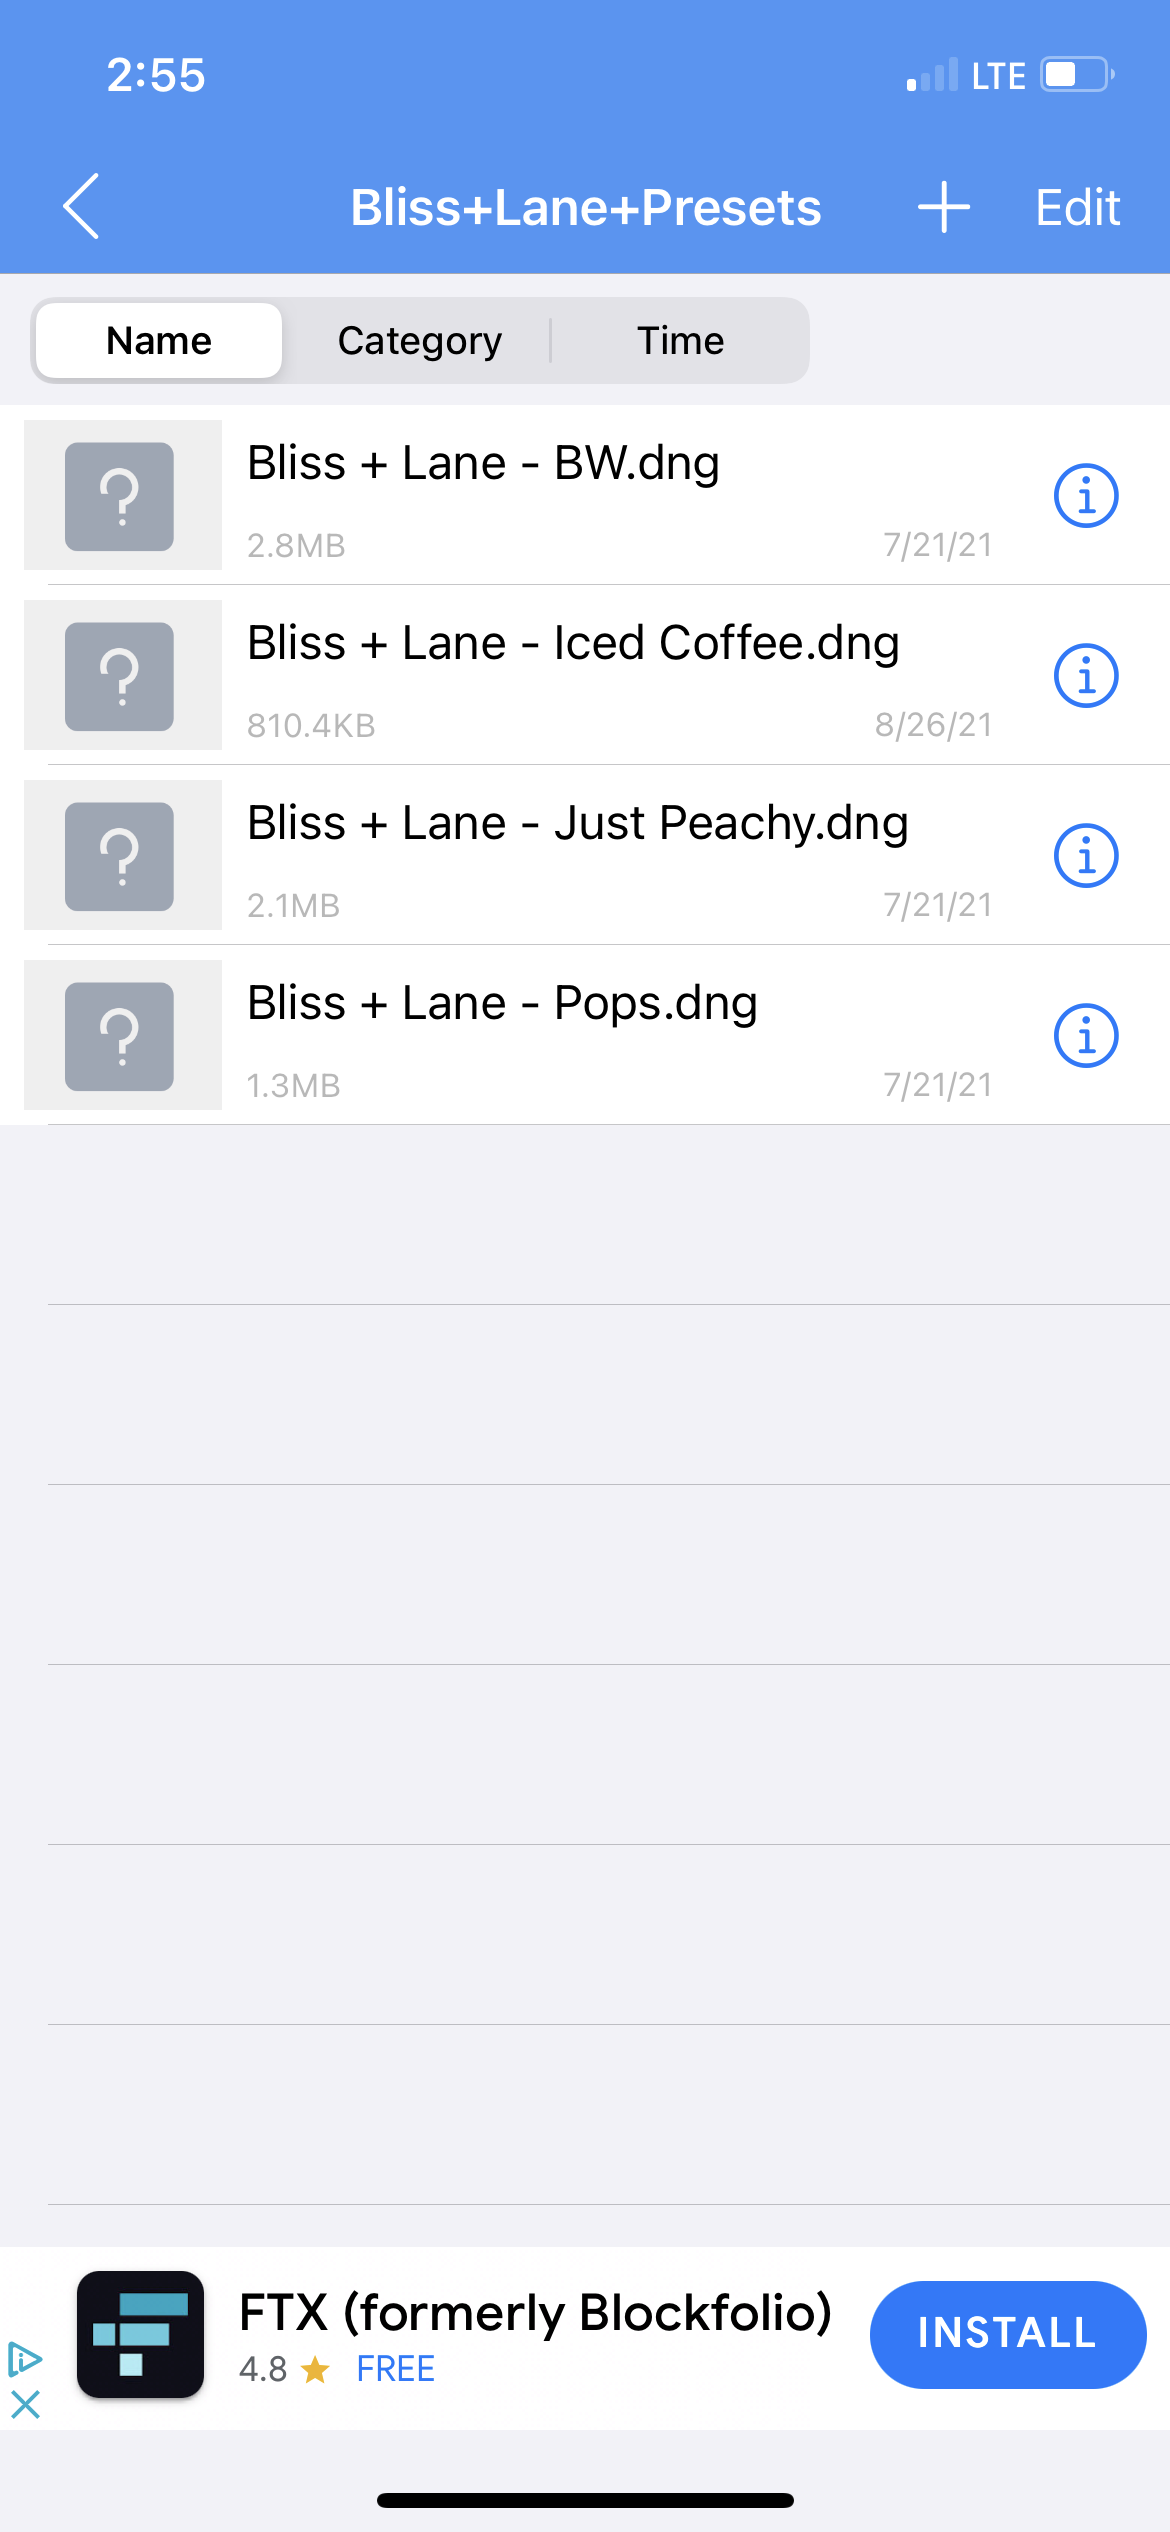
6. Click on the yellow Bliss+Lane+Presets

-
7. Click on the first preset Bliss + Lane - BW
-
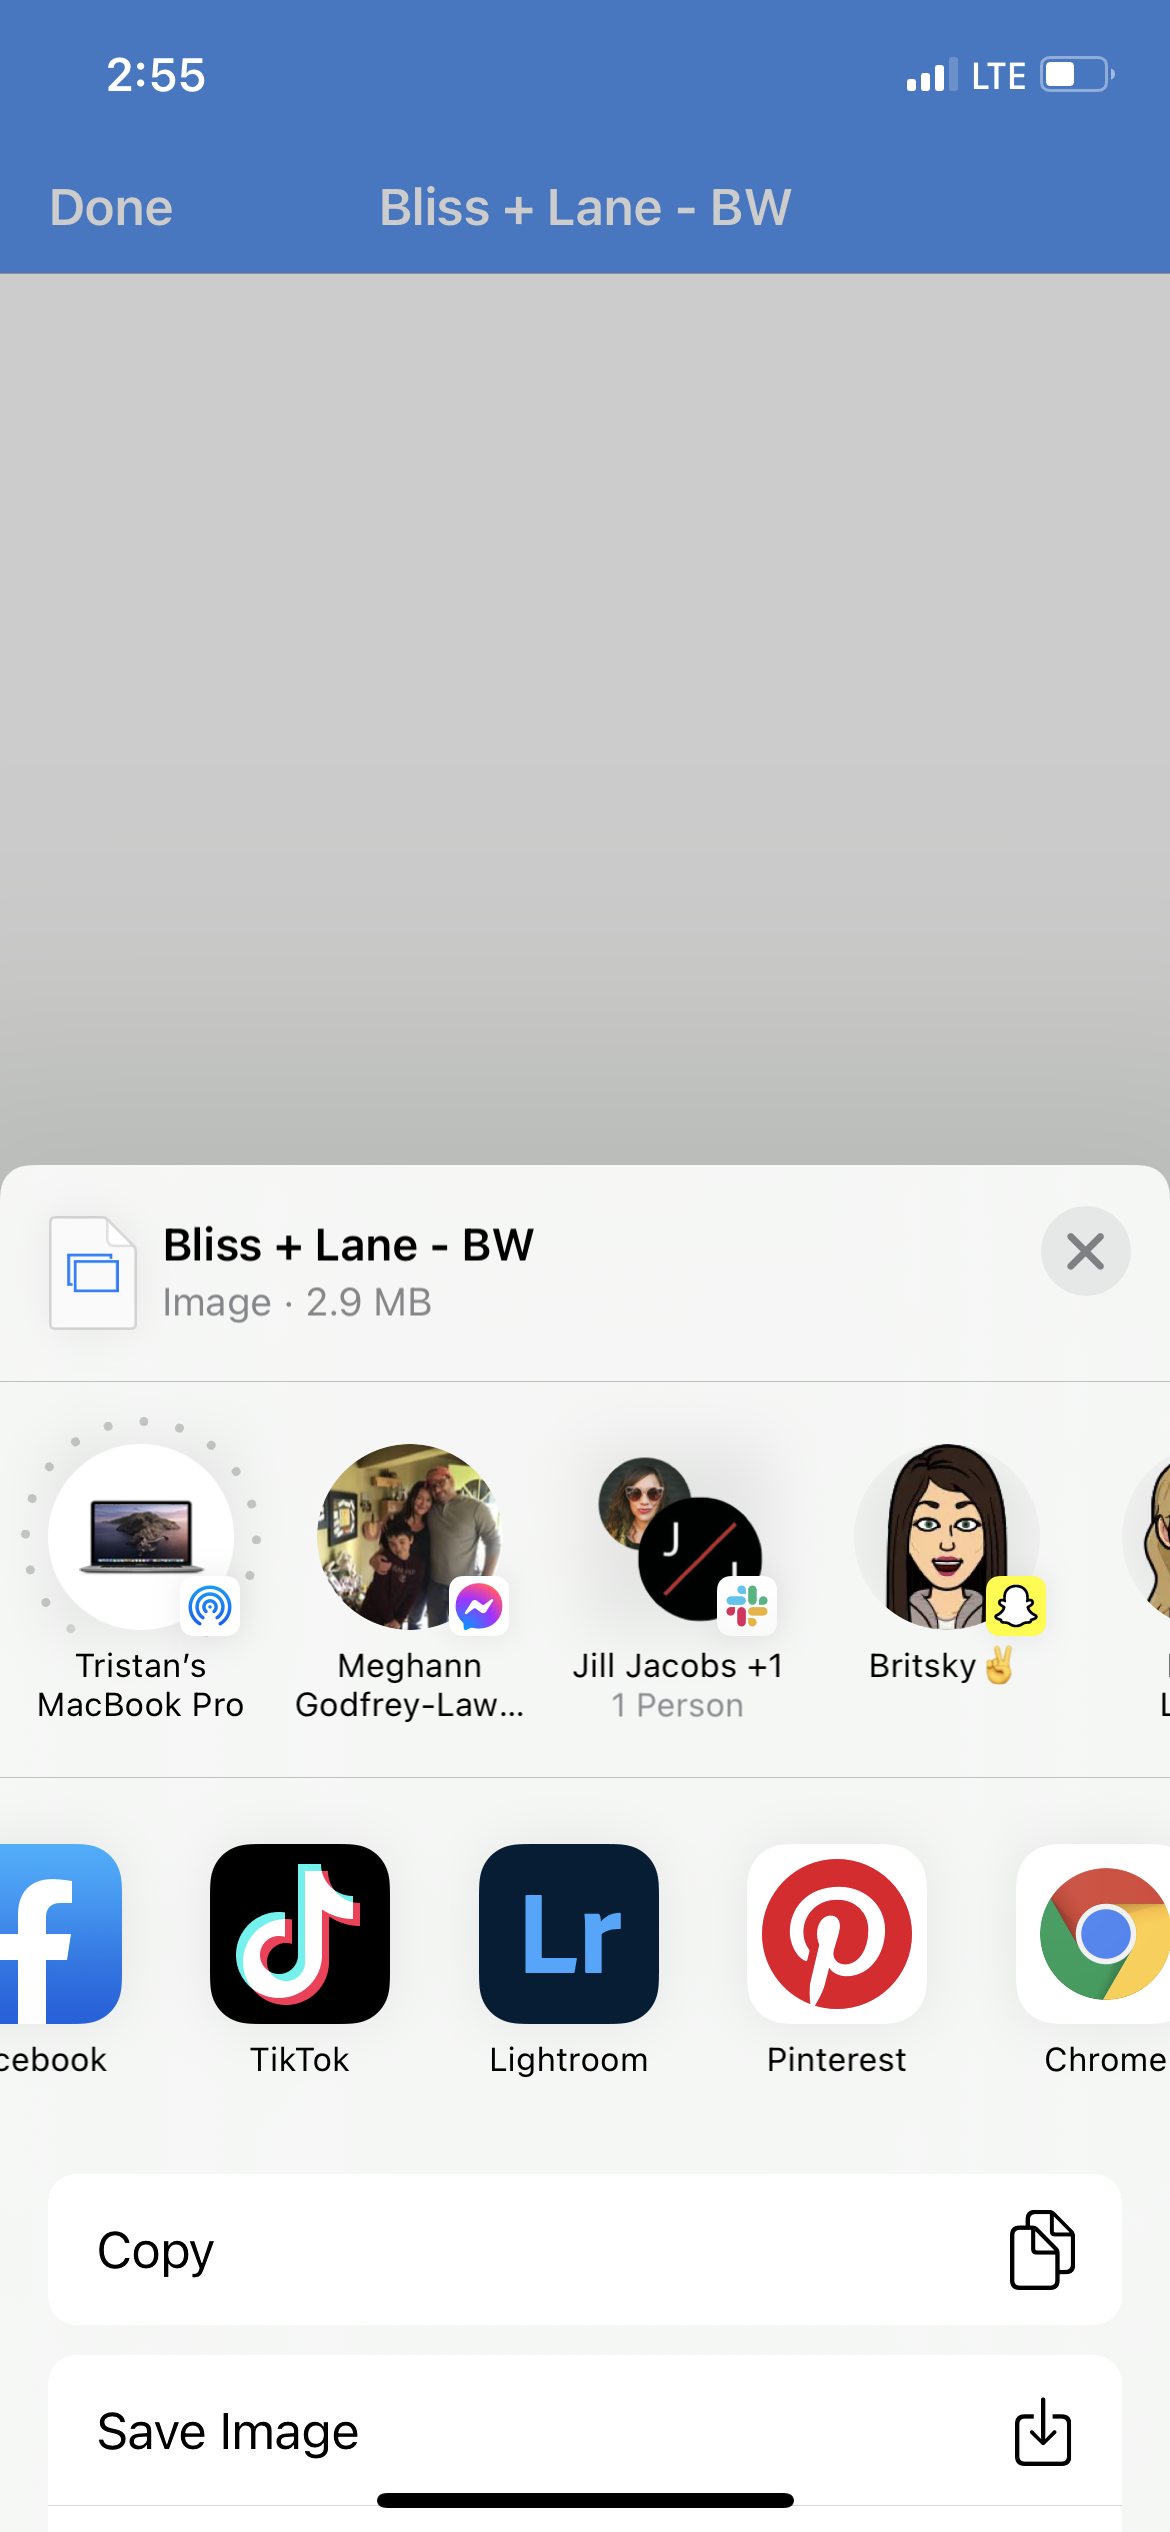
8. Click the share button in the top right corner. Scroll over to Lightroom.
-
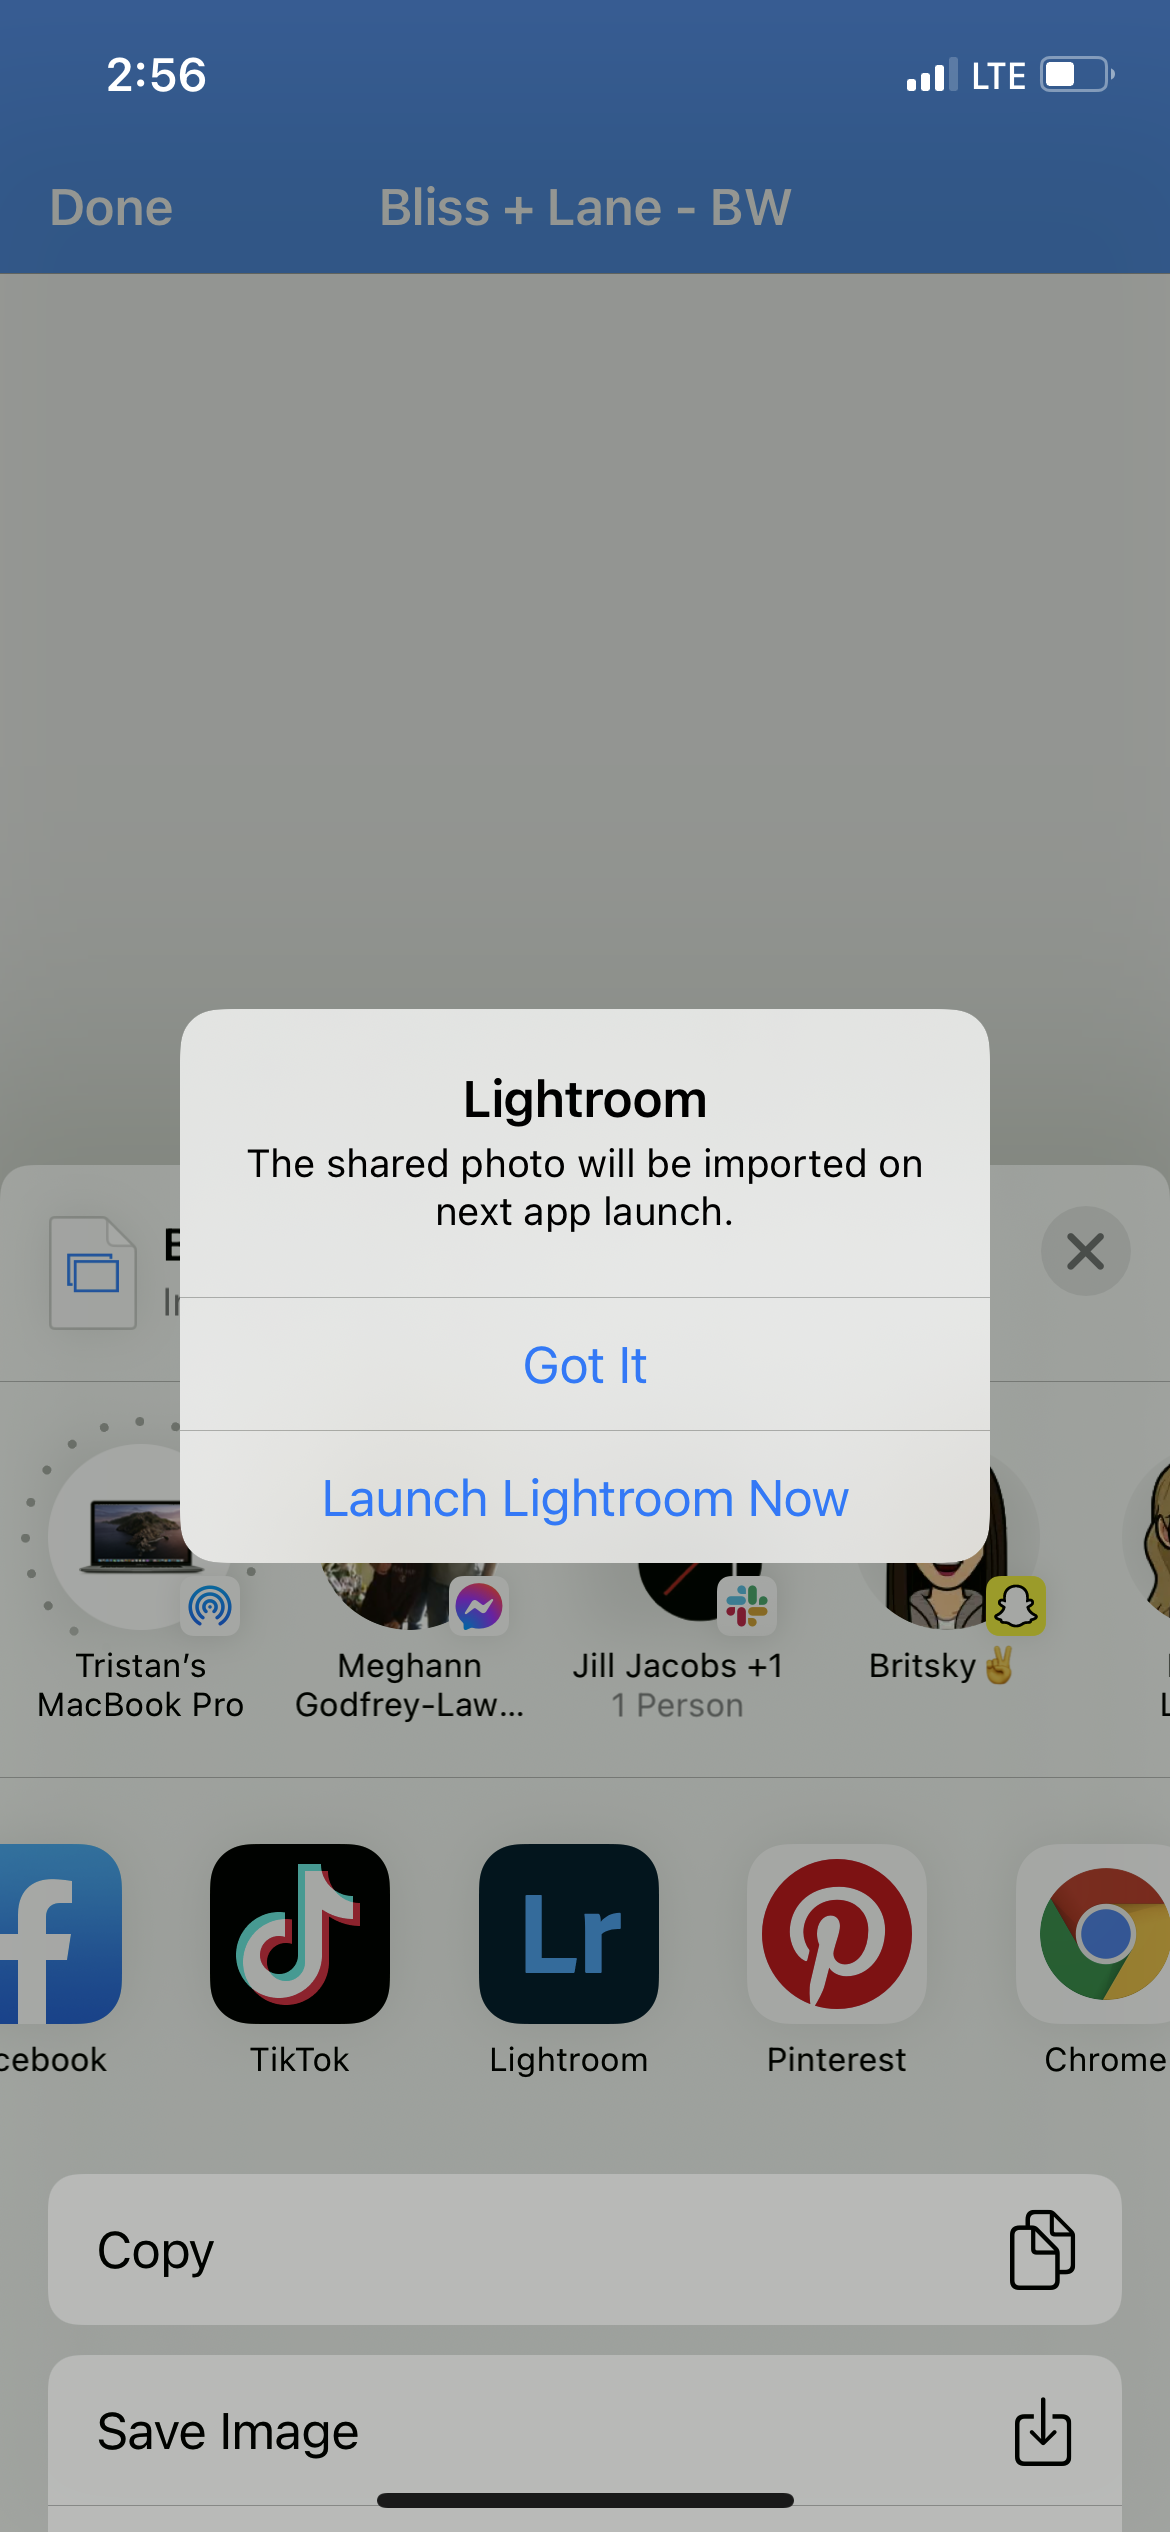
9. Click Launch Lightroom Now
-
10. You should see the photo in your Lightroom, click on it.
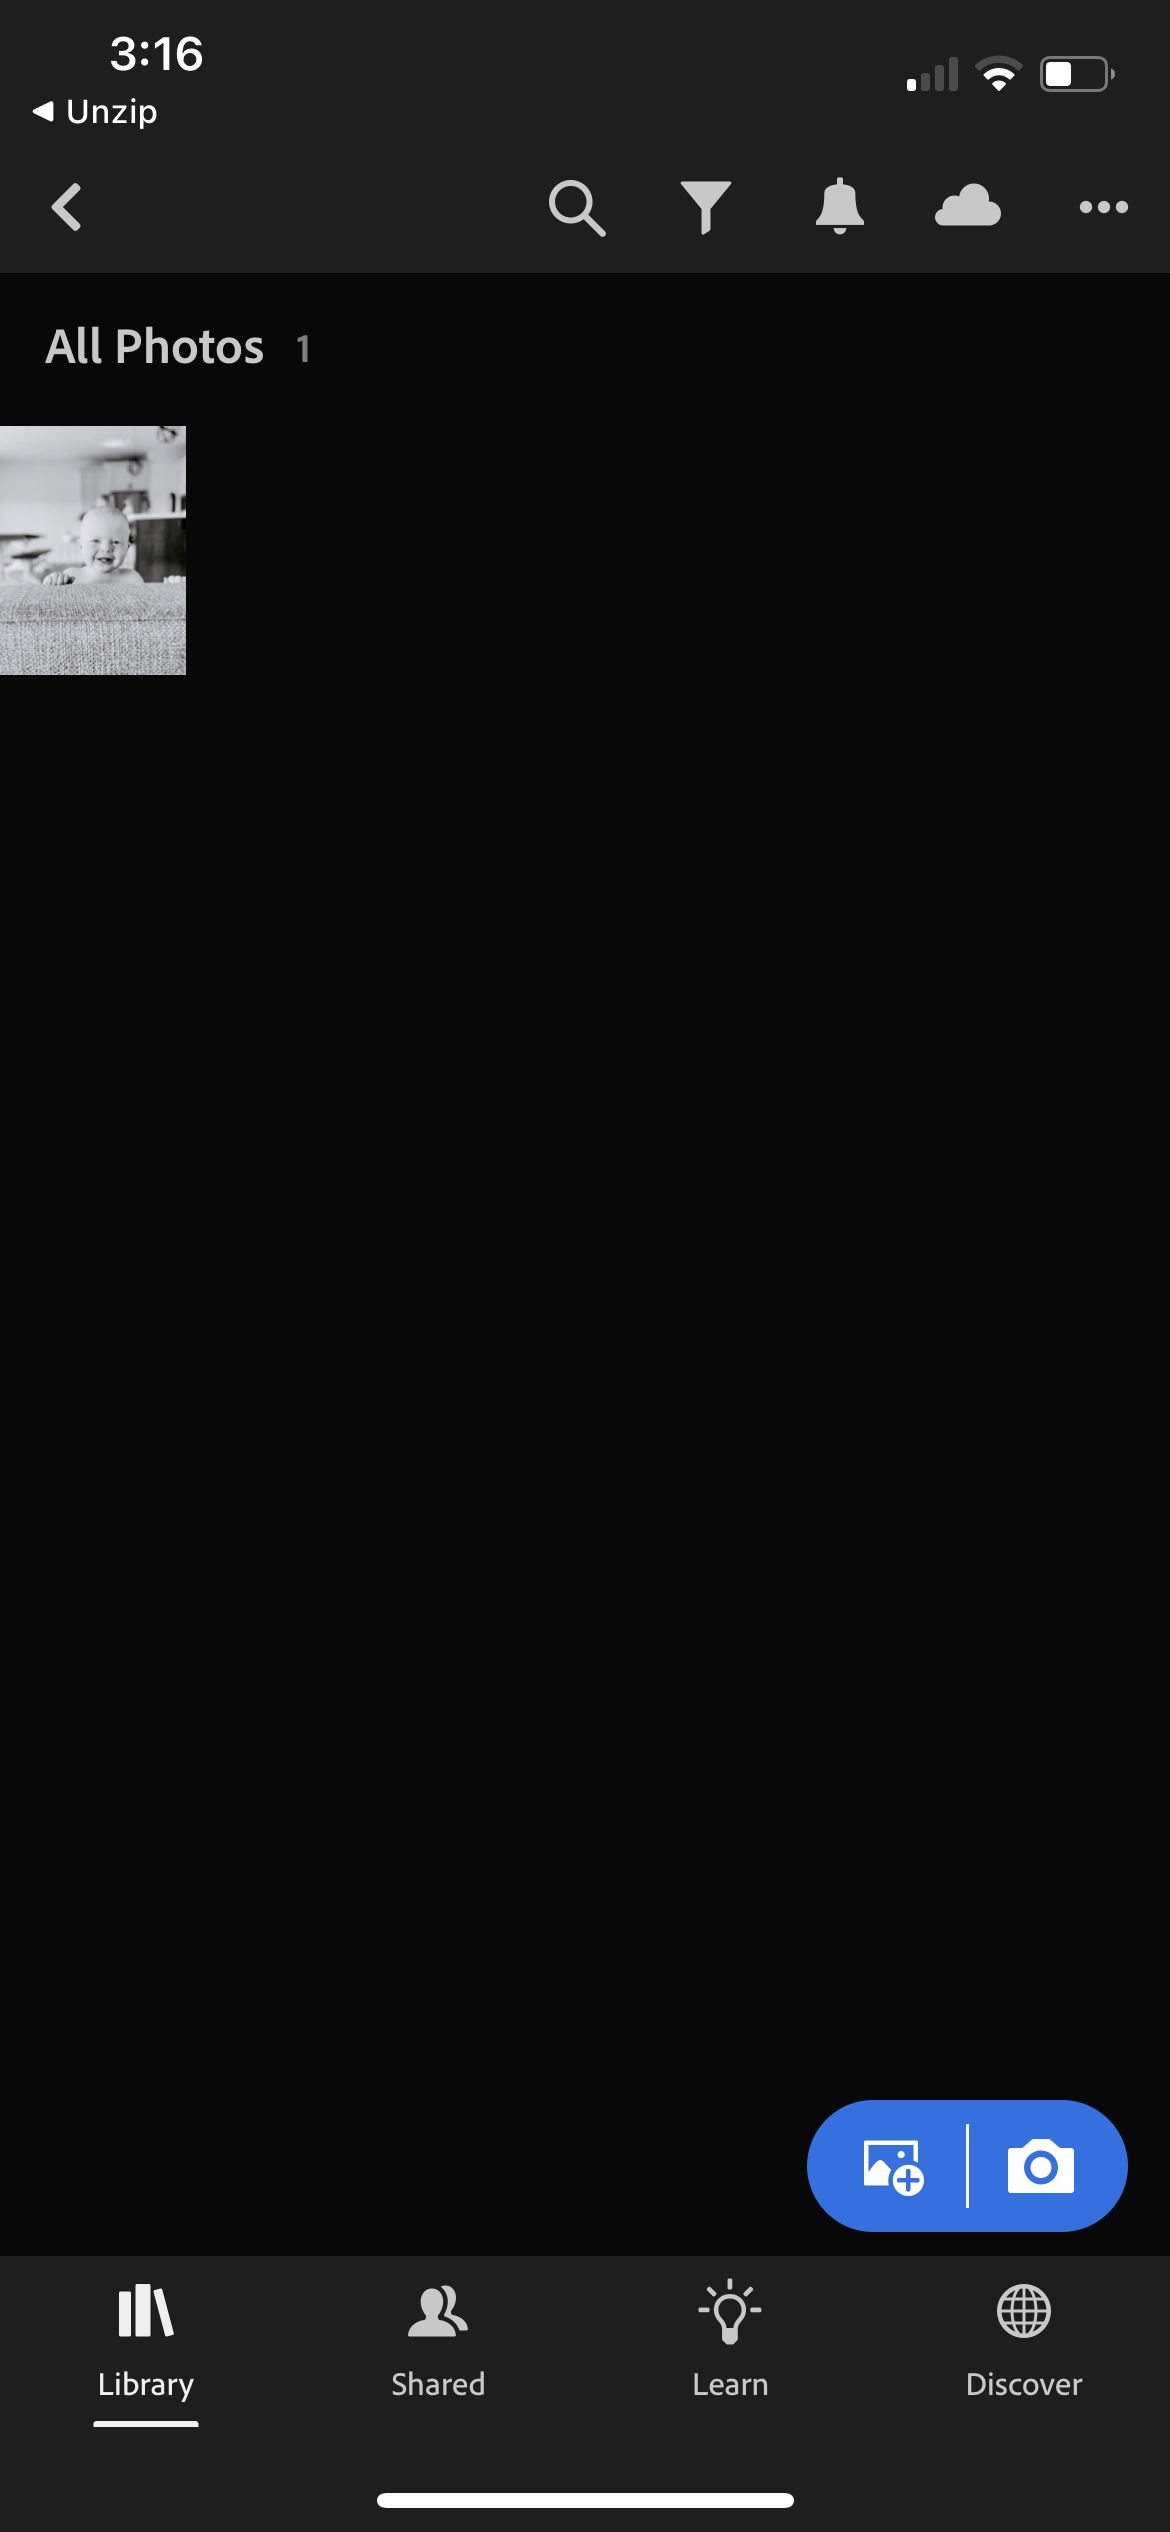
-
11. Click the circle with the three dots in the top right hand corner. Click Create Preset
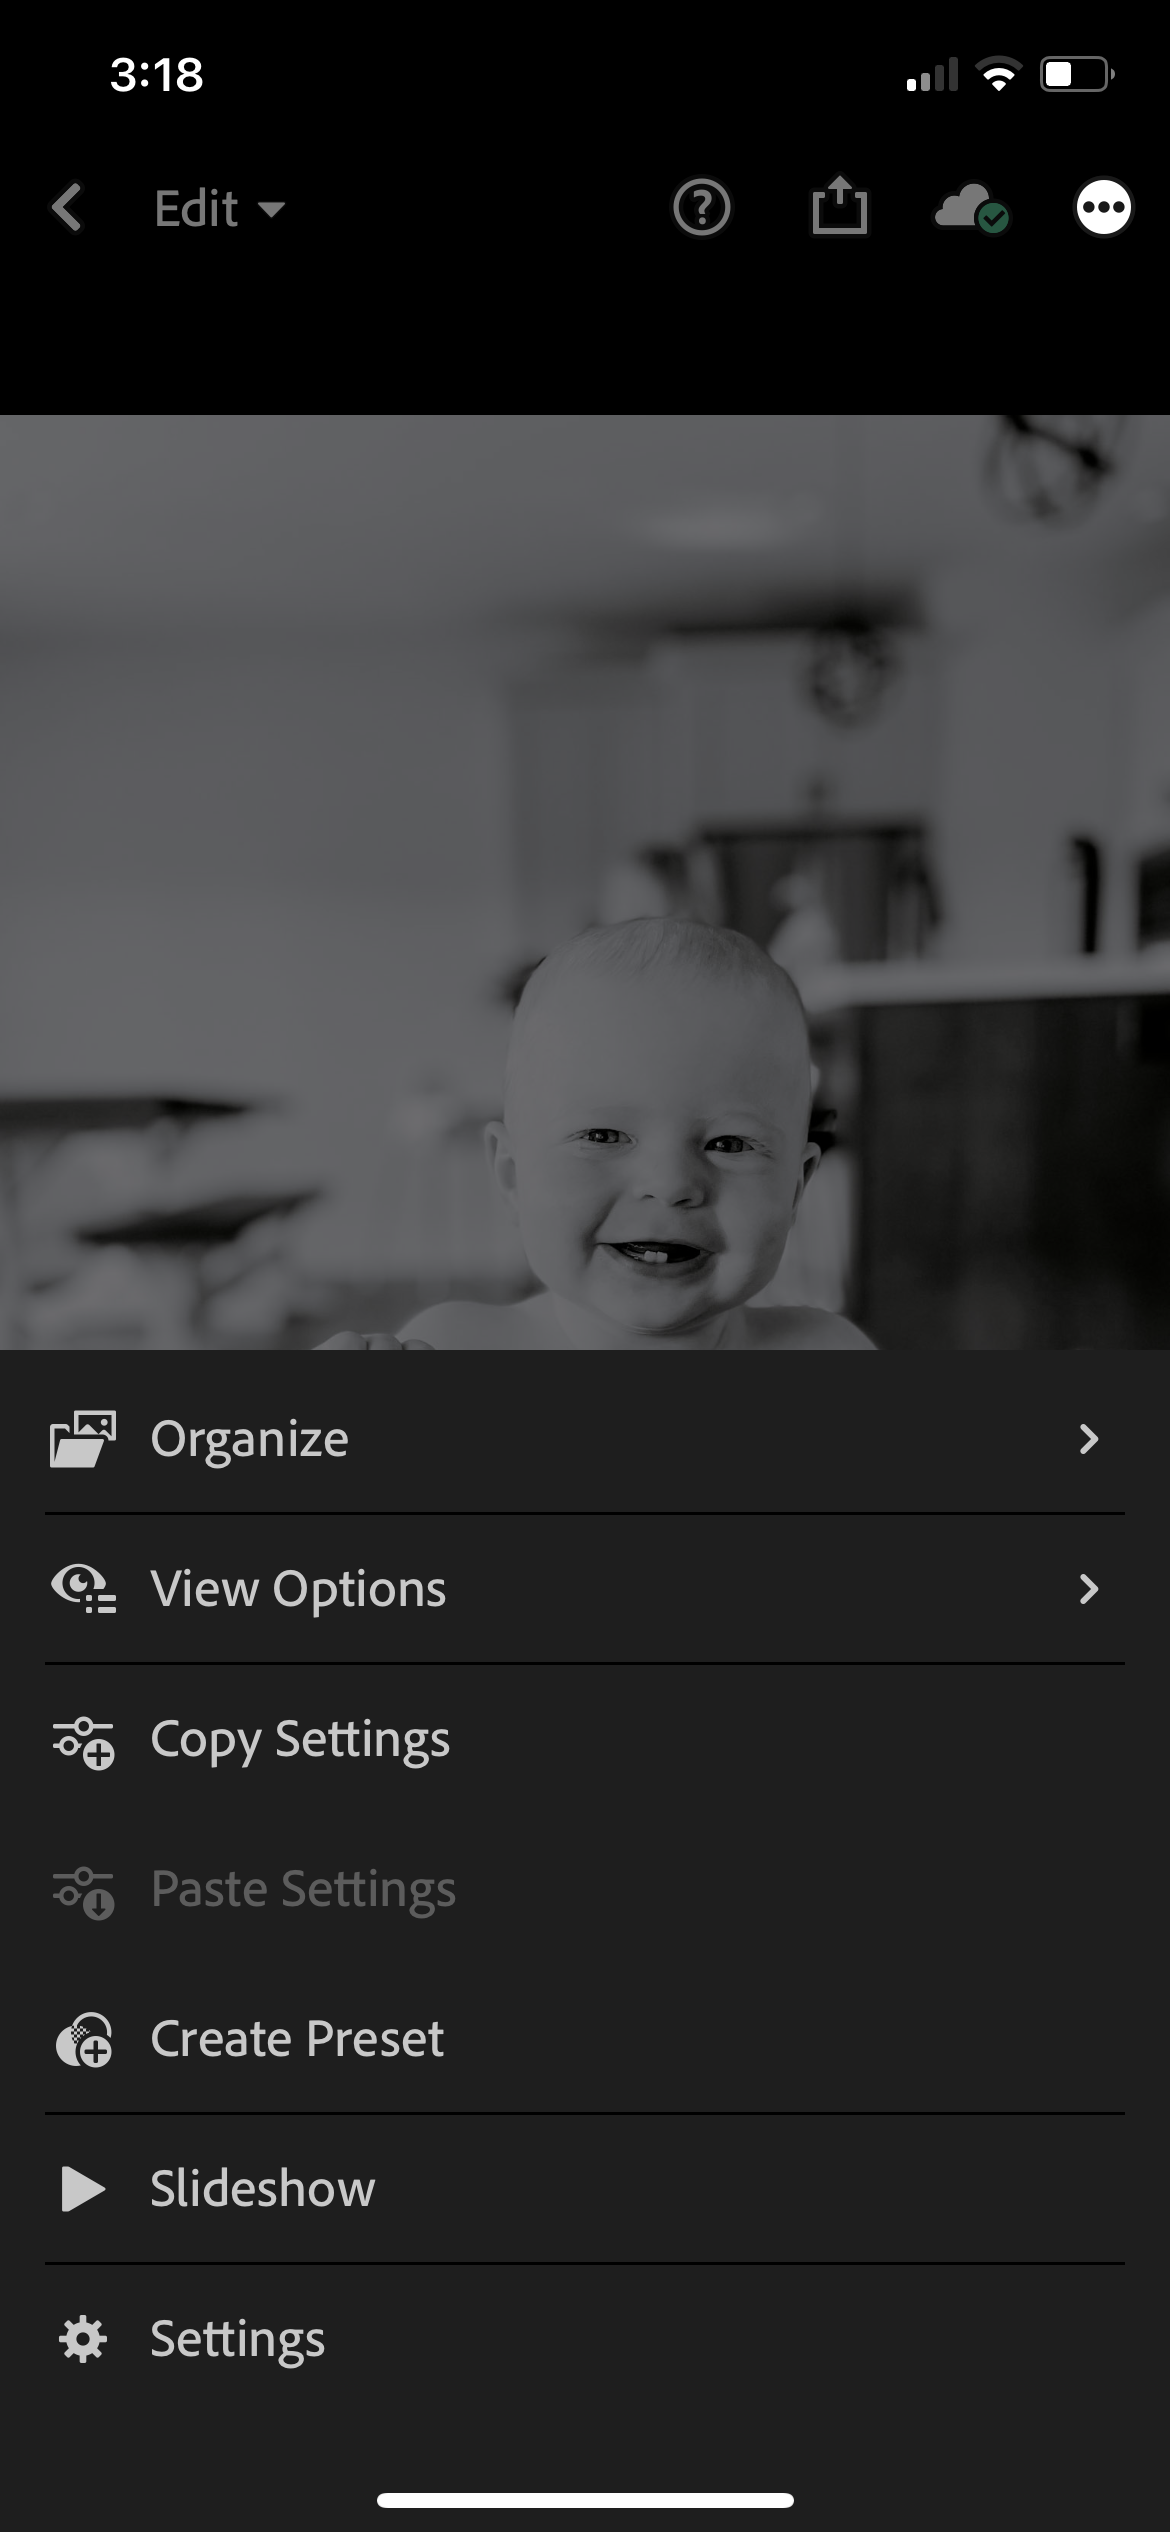
-
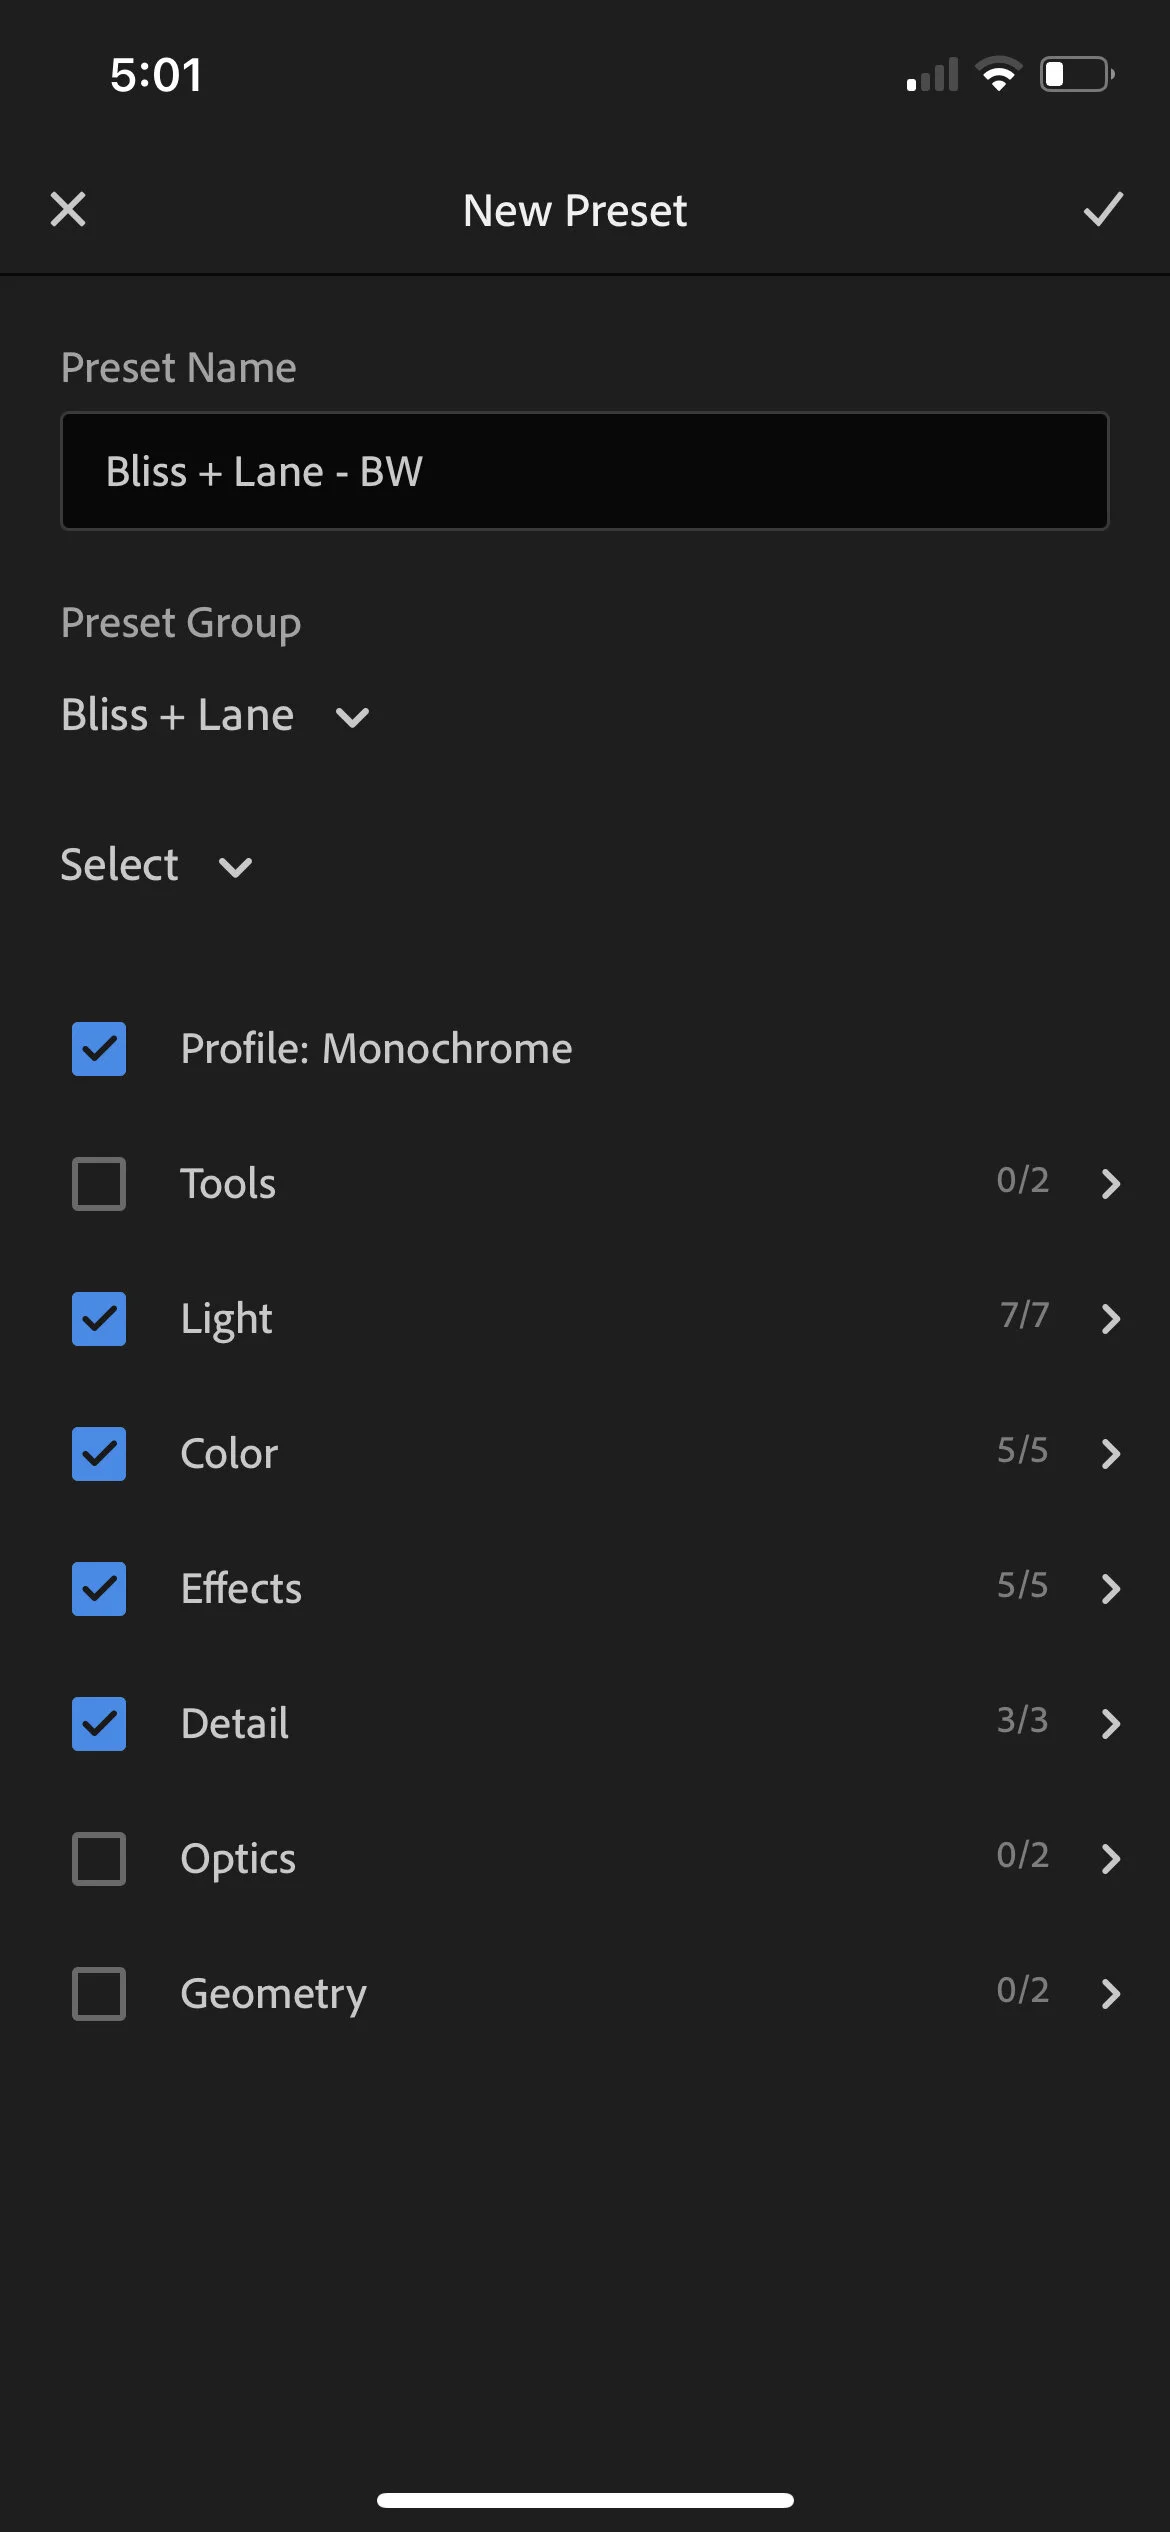
12. Name the preset Bliss + Lane - "Name of Preset."
Add it to a Preset Group named Bliss + Lane to keep them organized! Repeat steps 7-12 with all four presets
-
13. Click the blue button with the plus sign in the bottom right corner and then "From Camera Roll"

-
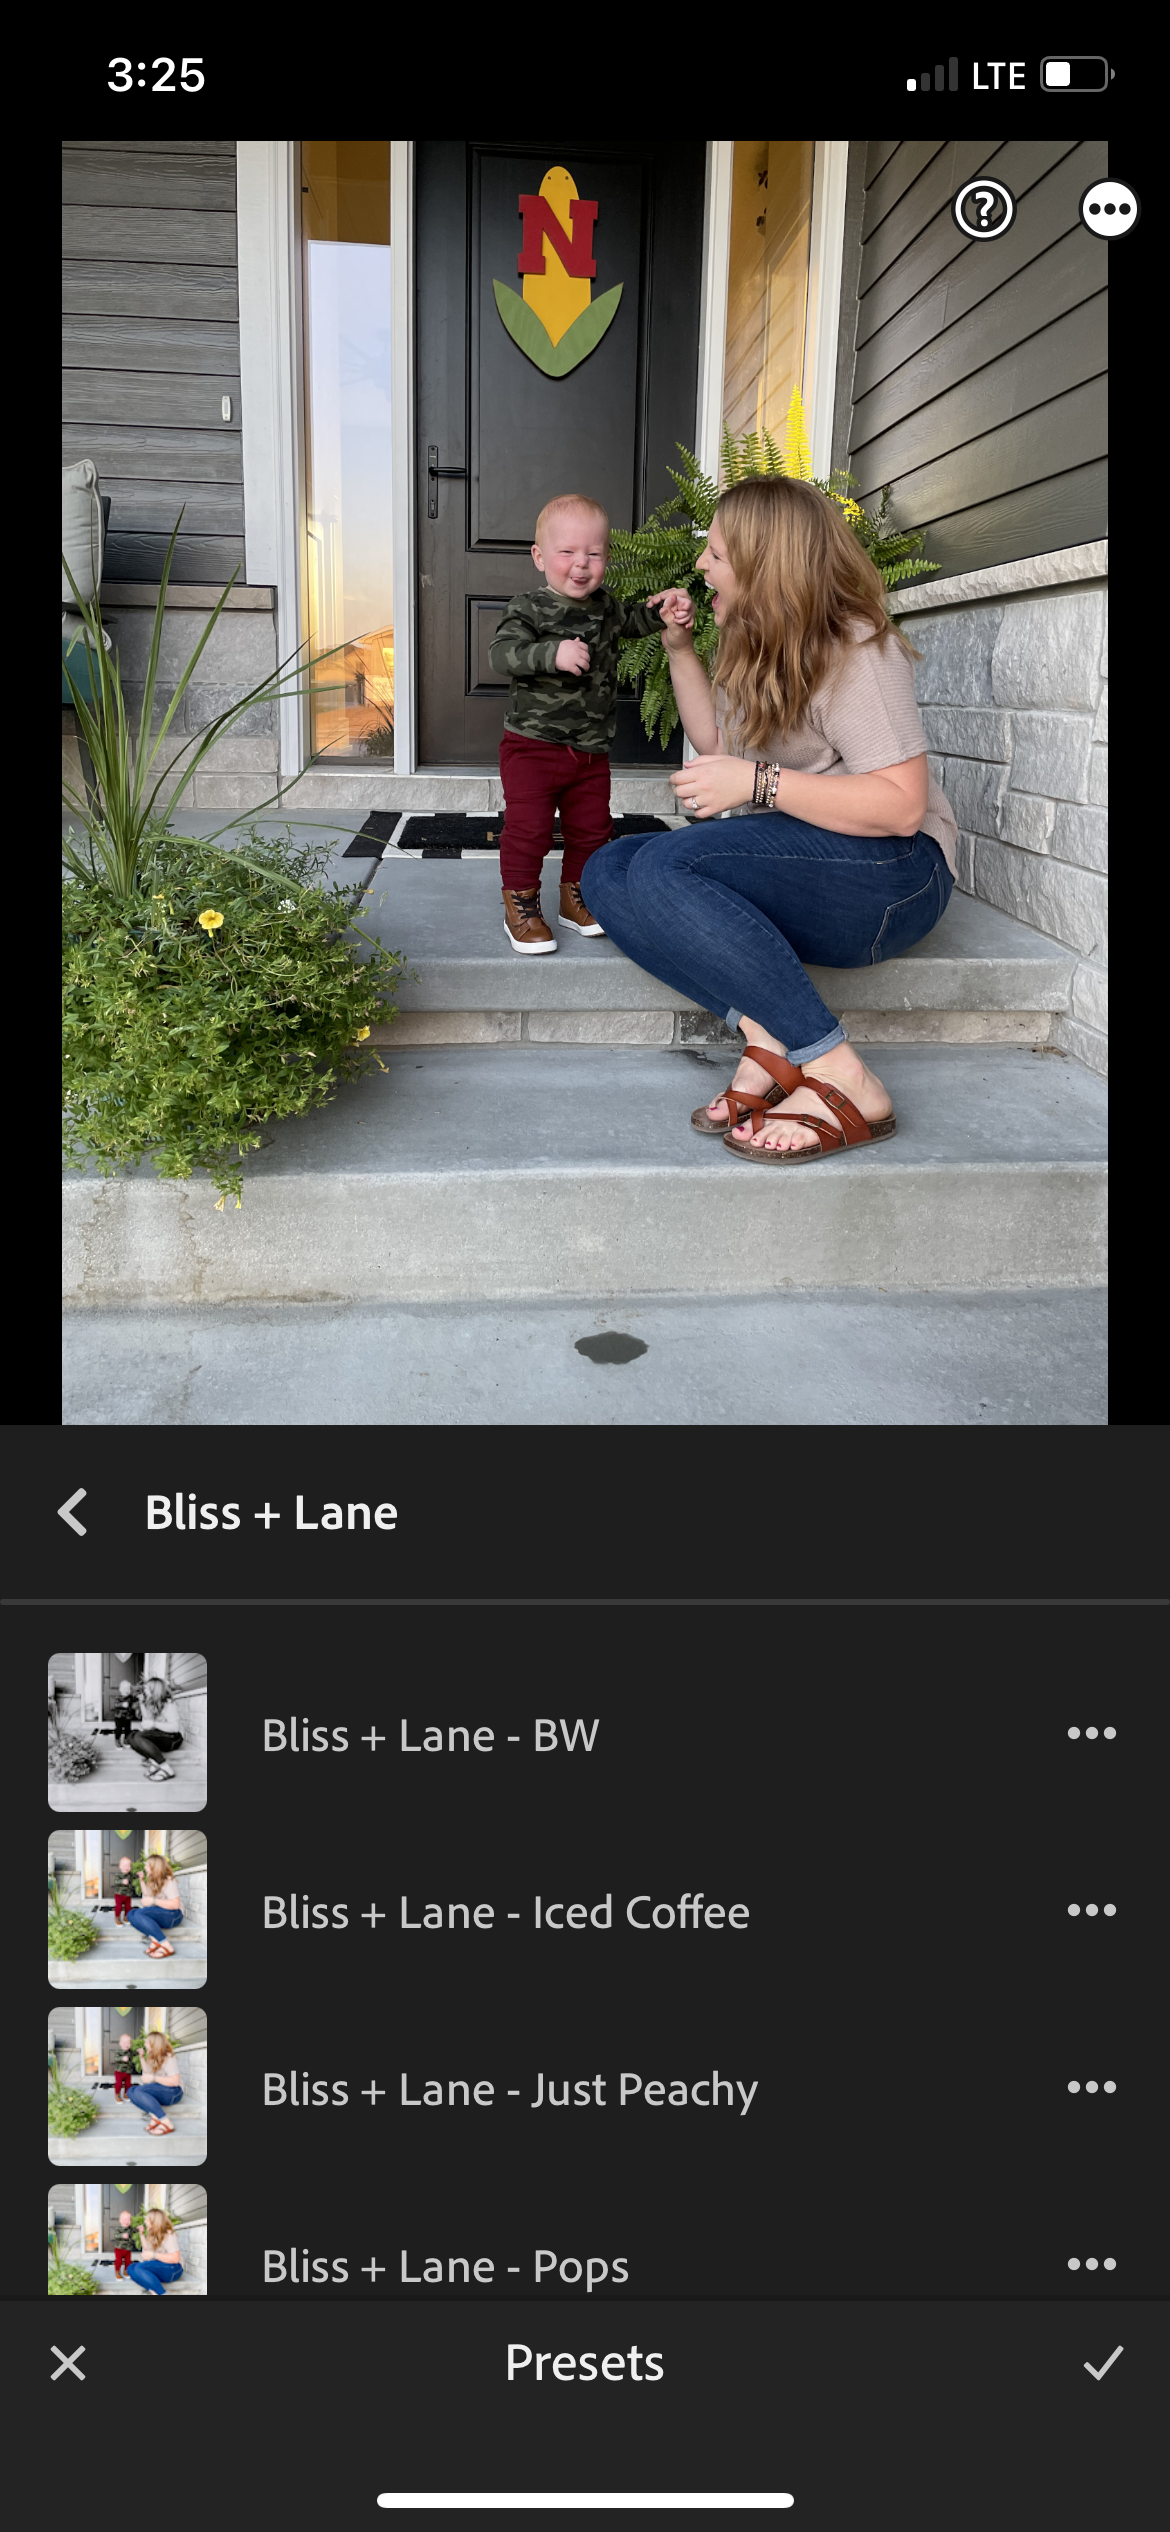
14. Add any photo from you camera roll. On the bottom toolbar, click Presets (four from the left)
Choose whichever you want! See below for some tips for editing!
-
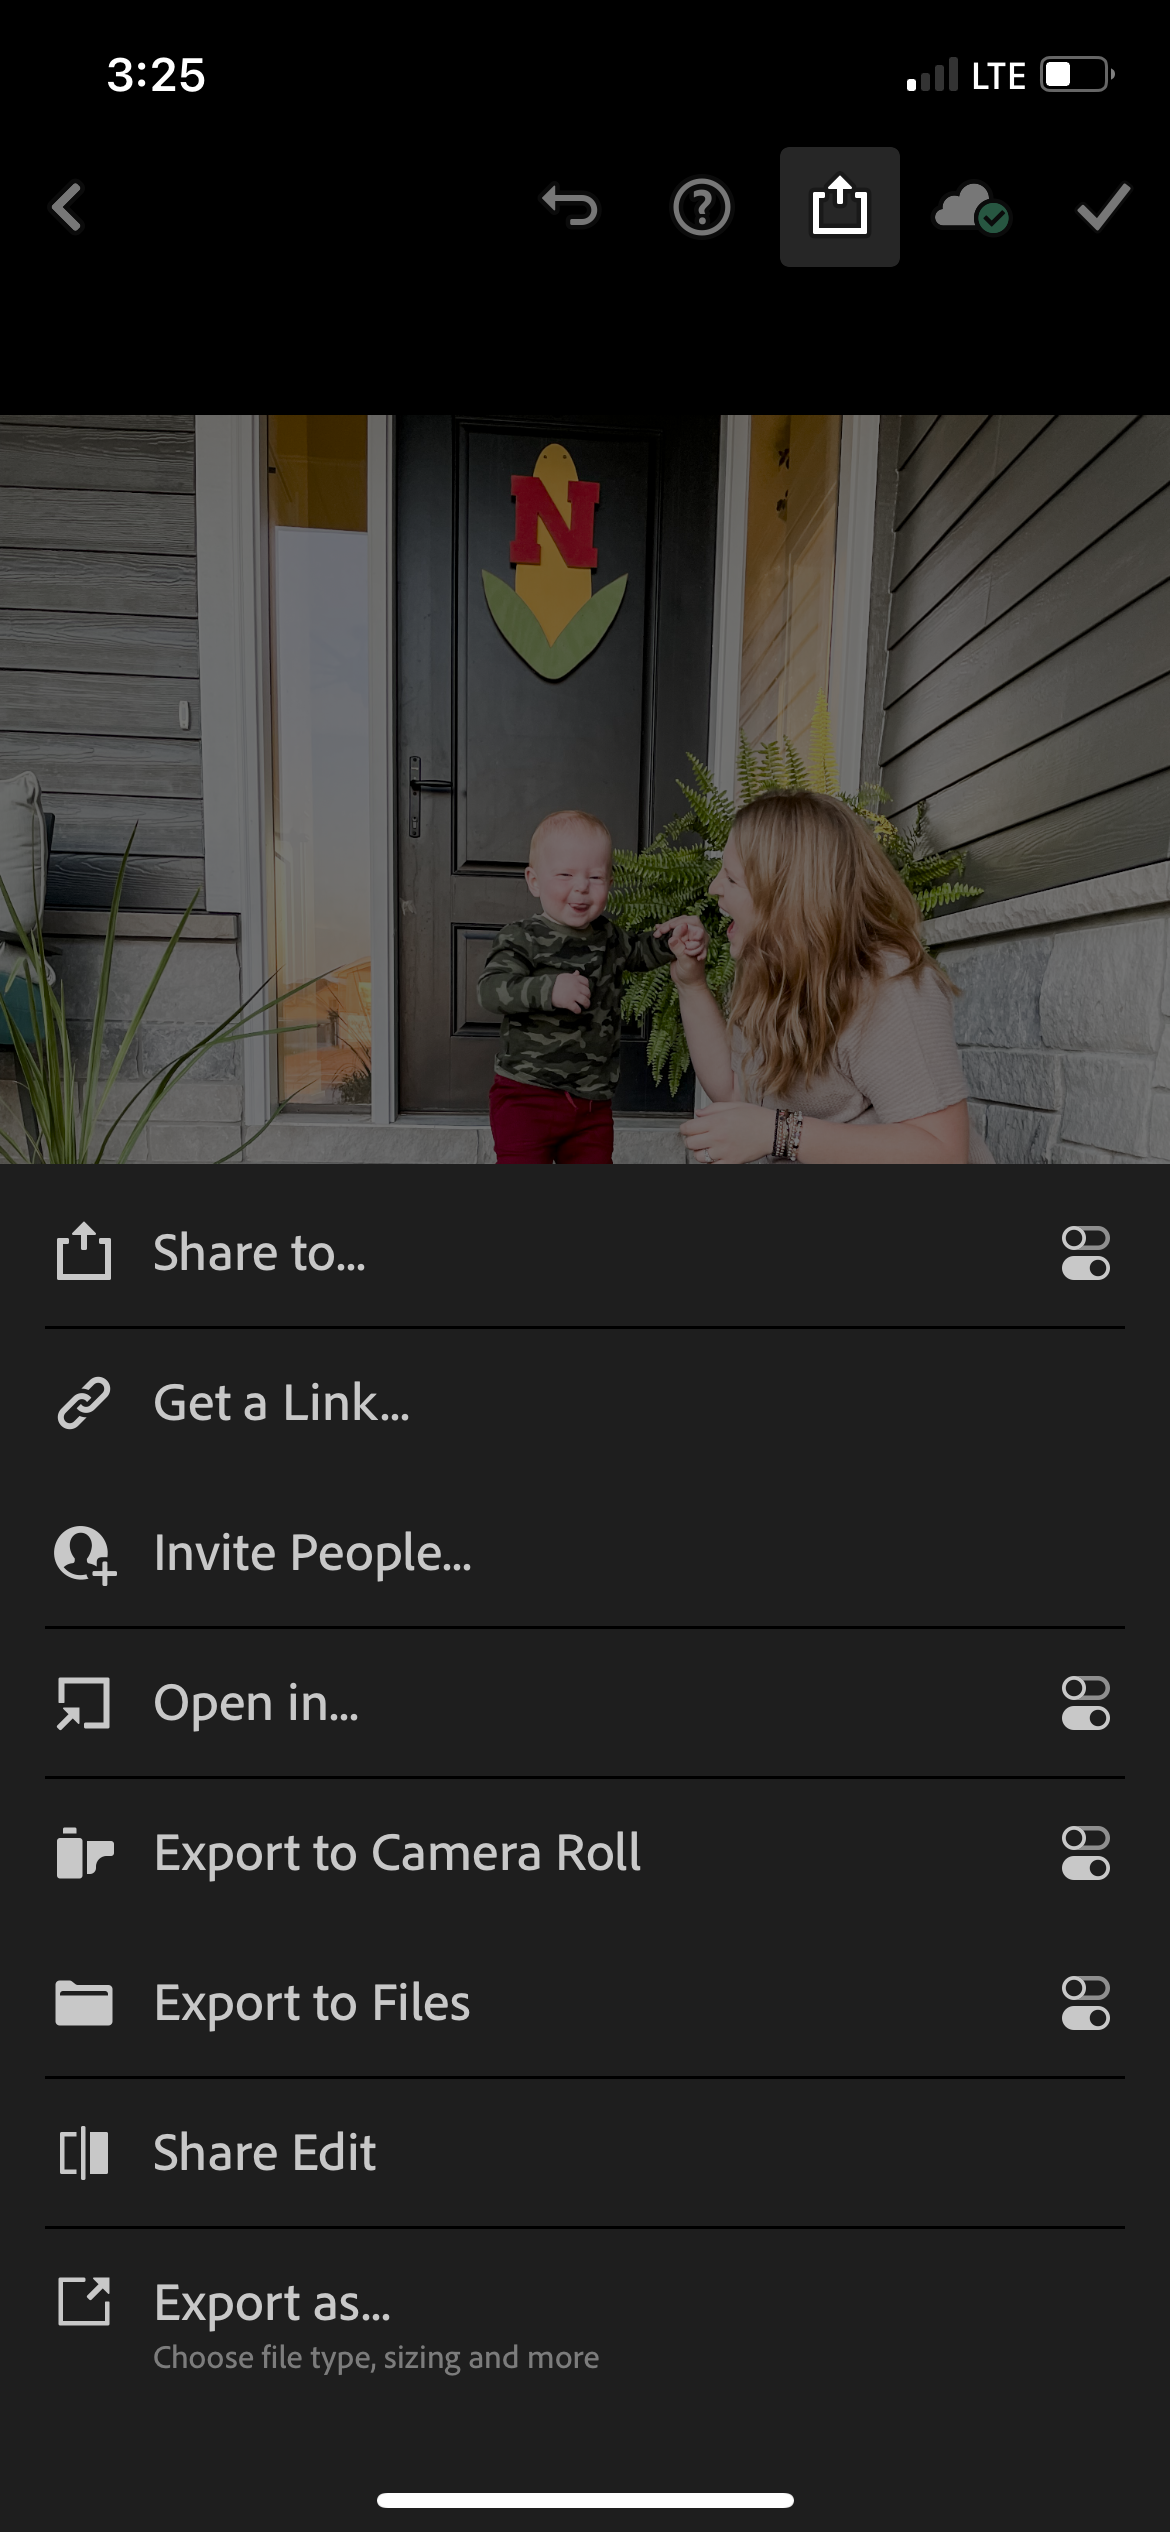
15. Click the Share button in the top right corner. Click Export to Camera Roll
Pro Tip: RIGHT AFTER I edit a photo, I go to my camera roll and delete the original unedited version + any others that weren’t my favorites so my camera roll isn’t a mess!
Editing Tips
A preset is meant to be a one click fix for you to fall in love with your photos! There are lots of instances where a couple of things will need adjusted though, depending on the light you take the original photo in.
Below you’ll find a bit about each one + some edits that might need to be made.
Please reach out with questions, I’m here to help!
BW
A classic black and white to make any photo a fave!
Tends to be on the brighter side, so may need to bump the exposure down or contrast up if the original photo was taken with great light already.
Iced Coffee
Great for photos with lots of color and images of people outside.
Sometimes reds and pinks are a little intense, so you may need to tone down the saturation
Just Peachy
Used on 90% of my personal, indoor photos!
Creamy skin tones, perfect brightness, usually works great!
If a photo is taken outside, Just Peachy adds way too much light so you’ll need to take the exposure down.
Pops
A perfect pop of color for photos of food, drinks, or products.
Very RARELY is this photo used on photos with people in them, as it is way too full of color and will be too vibrant.
Sometimes colorful, outdoor photos of kids work great with this preset if you tone down the saturation a tiny bit!
Along the bottom toolbar, you will find tons of different edits you are able to make!
The most common ones I use are:
Light
Exposure - drag the slider to change the overall light of the image
Whites and Blacks - dragging these sliders will up the whites and blacks or take them down. This can totally change your image. Play around and see what you like!
Color
Temp - dragging this slider down a bit takes down yellows that often come with indoor photos (think: bathroom shots!)
Saturation - Colors are brightened and deepened when dragging the slider towards the right and colors are toned way down when dragging to the left.
Thank you so much for your purchase!
Stay tuned for a discount on a Fall Preset coming up since you purchased these!
And definitely let me know if there are any questions at all!
I’d love to see your photos on Instagram by using #blisslanepresets